Tag Archive for: domestic surveys

Re-building costs

What about Re-building costs?

Sometimes people ask whether re-building costs form part of our survey. Some surveying companies will do this for you and will charge a couple of hundred pounds for the privilege. We don’t because it isn’t really necessary; it adds little value and the professional indemnity insurance cover required would increase our survey fees.

“Sums Unlimited”

So what are your options?  The comparison websites such as MoneySupermarket.com  and GoCompare have made insurers attempt to compete by giving quick quotes and on a level playing field.  Hence most of these quote are based on “sums unlimited” for the value of the property. In reality “sums unlimited” is normally limited to £1,000,000. Many insurers do not insure properties with more than five bedrooms for this reason.

Calculating Re-Building Cost

However, if you are using an insurance broker they may ask for the re-building cost. If this is something you require, it is very simple to calculate! You need to measure the building’s footprint that is, the gross external area of the property. If this is something you want us to do as part of the survey inspection,  please let us know and we will take the external measurements for you.

Count the number of bathrooms (not including any cloakrooms) and add the number of garaged parking spaces. Create a log in on https://calculator.bcis.co.uk/calculator/calculator.aspx and input this data. This will produce a cost for a property band rather than an exact value. Hence you have to make a judgement as to the quality of fixtures and fittings;  we suggest erring on the side of caution with a higher figure for these.

Index Linking and Under-Insuring

Your insurance should have these values index-linked as inflation and other costs will increase the rebuild cost over the years. Hence it is good practice to revisit this valuation every few years. If you make changes to the property such as an extension or add garages, then the rebuild cost will no longer be accurate and will need to be re-calculated. The increasing trend for “sums unlimited” cover stops this hassle unless you have a mansion or a Central London property. It also avoids quibbling should a claim arise.

It is very important not to be under-insured. Sadly, you normally only find this out when you come to make a claim and the loss adjuster checks the figures. If for example you have an out-of-date rebuild cost of say £100,000 and the adjuster says the rebuild cost is £200,000 then you are 50% underinsured.  As a consequence, you will get only half the suggested pay out of your claim.  In the event of a large loss, for example through sudden flooding,  this can be a significant sum of money!

Non Traditional Construction (Part 1)

The Laing Easiform

The Laing Easiform


These were constructed by John Laing builders with the first house being built in 1919. They are a fairly common form of construction – they were built by Councils in large estates as they were fairly cheap and quick to build.

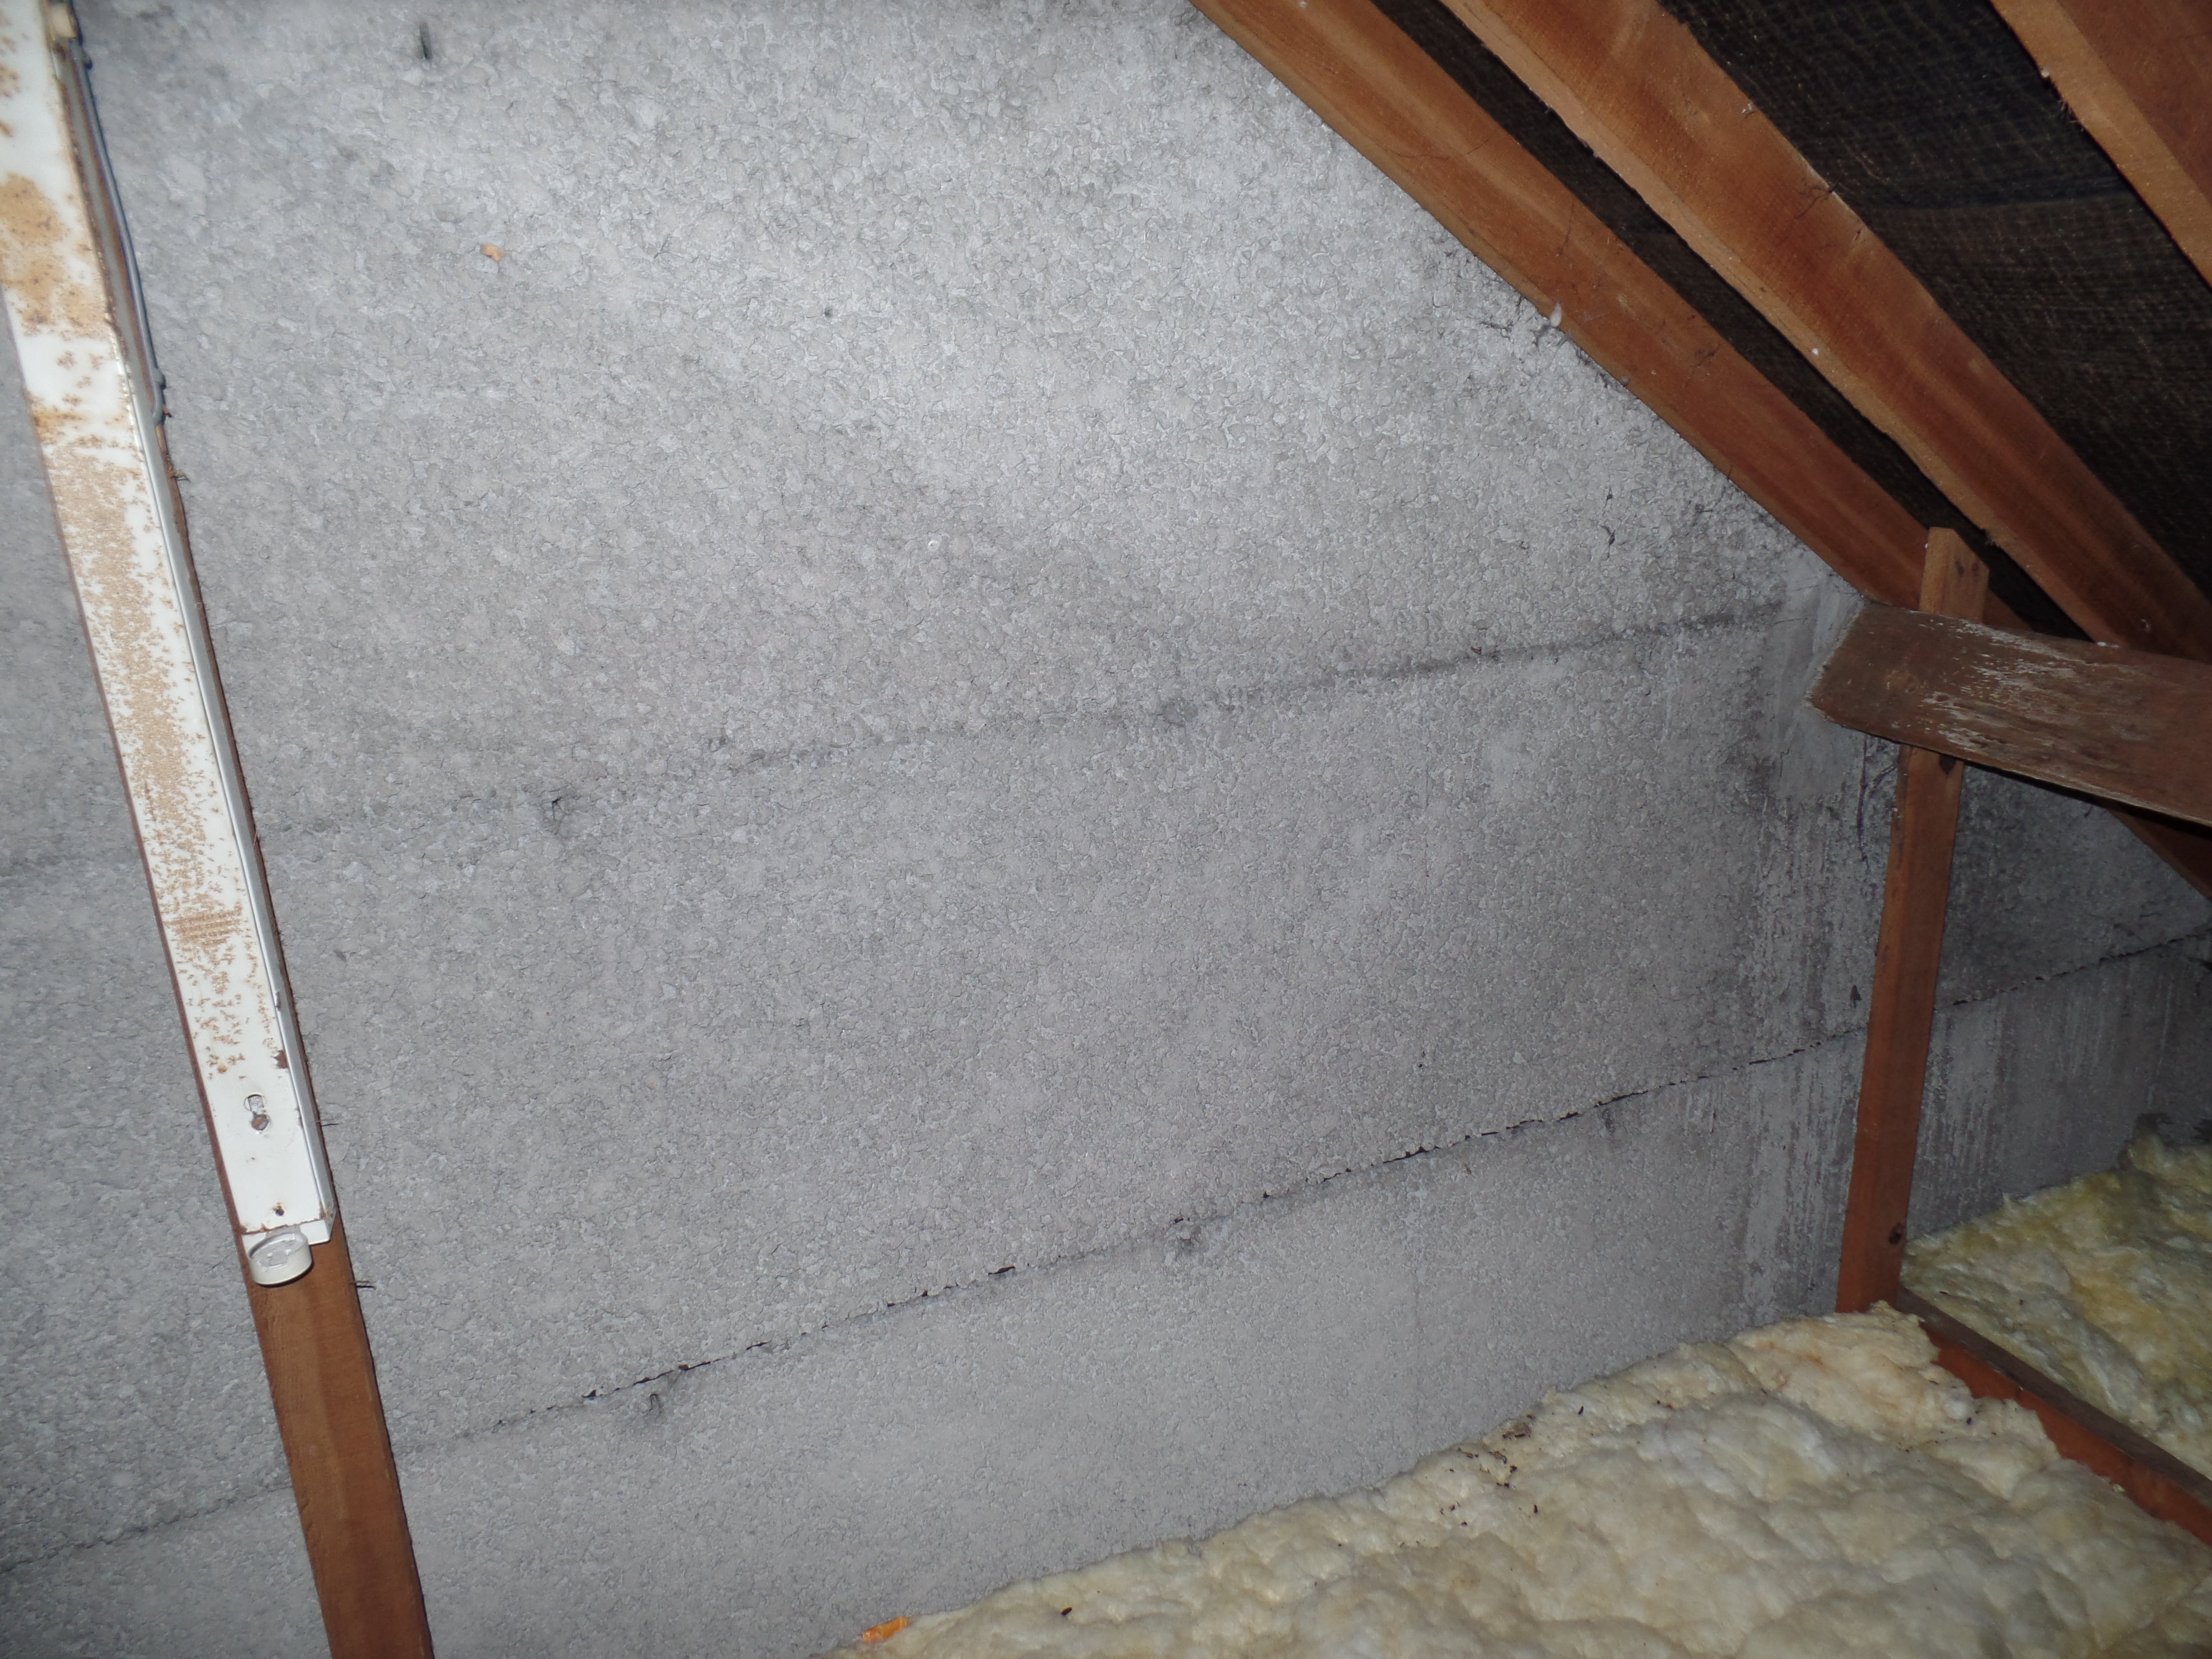
We have surveyed many Laing Easiforms in both Bristol and Gloucester. These dwellings can be identified by their tall slender chimney. The chimney tends to protrude from the central wall; however these chimneys often suffer from failure of the render and tend to crack. Laing Easiforms normally have a concrete porch roof above the front door. But the main way to confirm is by entering the loft space and looking at the party wall.This is not made of brick and block as in traditionally constructed houses, but is fairly smooth and grey in appearance.

How were they built?

Surveying these types of property can be a very satisfying experience as they were all constructed in a very similar way. A solid slab foundation was laid, then a mastic asphalt floor covering which acted as a damp proof course. After the floor was dry, metal shuttering was temporarily constructed and concrete was poured into this mould. This was strengthened with reinforcing bars. As these houses are not constructed from panels brought in from elsewhere, and the work is carried out on site, these are called in-situ. Once the concrete walls were in place, the shuttering was removed and the roof could be added. Normally a traditional cut-type roof was used with some bolted trusses to add strength, for instance those found in Brentry. A flat thick roof comprising a concrete slab was sometimes used, such as in Lockleaze.

What are the associated problems?

Laing Easiforms were not considered to be defective under the Housing Act and as a result can be mortgageable. Hence they are one of the few types of non traditional construction where a mortgage may be obtained! But With every rule there are the exceptions and the most common is the pre 1940’s Laing Easiform. Their construction had thinner walls, with 3” of poured in-situ concrete,  a 2” cavity and then a 3” inner skin – which is very thin by any standard. Some of these are still present in Lockleaze in Bristol and these are seldom mortgageable. The post-war properties were of  thicker walled construction, with  3 ½ ” concrete, a 2” cavity and a 3 ½” inner wall,  such as many of those found in Bishopsworth.

When we survey a Laing Easiform, one of the obvious problems is corrosion of the embedded metal. This is often characterised by horizontal cracking along the reinforcement lines. This may be repaired cost effectively depending on the extent of cracking that is apparent. It is a subjective call as to whether the extent of cracking is cost effective to repair; most suffer some level of cracking.

The other commonly occurring problem is the quantity of asbestos that is often used in the construction.For example, the soffits were originally of asbestos cement boarding, which has often been hidden by new UPVC. The loft hatches were again asbestos boarding, as were the under stairs cupboards. Many of the ducts and boxings-in were also cement type board and thermoplastic tiles were often used to finish the floor.


Pitched Roof Structures


Pitched Roof Structures

You’ve clambered up into the roof void, the attic. What’s the function of those wooden planks and what problems are associated too?

Unless it’s a flat roof, the upper most board that normally runs across the top is the ‘ridge board’. This is the apex or peak of the hipped roof.

Then running from this ridge board to the walls are the rafters. These are normally 3”x 2” in Victorian housing; in the 1930’s, the thickness was increased to 4”x 2”. Yes, imperial measurements, not metric, in those days!

The rafters have to span half the width of the house, so they are normally supported mid span by a large timber called a purlin. This stops them bowing or sagging under the weight of the tiles. We have seen purlins as thin as 4” x 3” in some properties in Gloucester Road and St George. With better quality Victorian housing, say in Fishponds, they can be up to 9”x 3”.

These are often supported mid span by a diagonal brace (called a strut) to take the loading (weight) to the central spine, the load-bearing wall in the middle of the property. Otherwise, the strut may be fastened onto binders. These are timbers spanning across between the load-bearing walls to stop the purlins bowing.

If you have read our blog on Pitched Roofs, you will know about ‘roof spread’. Sometimes even these reinforcing  arrangements were not enough, or have been removed, so additional struts were also used,  sometimes with collars. These struts run between the rafters just above the purlins, to give triangulation to the structure.This sends the weight loading down to the load bearing walls at 90⁰, preventing them from spreading and pushing the tops of the walls outwards.

Types of Roof Structure

Before the 1960s

Before the 1960’s, most roof structures were of traditional cut timbers, sometimes called “carpenters’ roofs”. As it sounds, each length of timber was measured and cut by hand, then lifted into place and secured with nails.

There were various designs of roof around during the Victorian era.  Inverted or Butterfly roofs were very common in Totterdown and Easton.  These have a central valley running down the middle to take rain water away so are prone to leakage. The structure is often problematic and cannot be inspected from the ground. These must be inspected from a pole camera or ladder. The valleys were supported by a ‘roof plate’ underneath. This was a substantial timber running under the valley from front to back.  These roof plates have often deformed under the weight of the tiles and water ingress issues have often caused decay. These roof styles stopped being used at the beginning of the 1900’s.Such roofs cannot easily be converted to habitable space as they have limited headroom.

In the 1930’s, usually in end of terrace houses or semi-detached properties, the sloping hip timbers run to the external walls.This hip is supported by a hip board or timber and the cut rafters around it are called jack rafters.

From the 1960s

Around the 1960s trussed roofs started to gain in popularity. They incorporated the rafters, ceiling joists and bracing into a large triangular structure. These were manufactured off site and craned into place.  Then they were fastened using gang nail plates to fix the joints together. They were quick to install and were cheaper in comparison to cut roofing as the skills required were less.

The early trussed roofs did have problems with gang nail plates rusting and failing; some properties in Horfield have exhibited this.  Such rusting is often made worse by condensation in the loft voids. The triangles sometimes tilted when installed and may not be straight and true. When some roof failures in the 1960/70’s were attributed to the domino effect of the trusses falling over, diagonal bracing became part of the Building Regulations requirements. The trusses then also had to be secured to the gable-end walls using metal straps to hold the structure together.  These are often missing in early examples of this type of roof structure and should be retro fitted.

SUMMARISING THE CONDITION OF THE PROPERTY

SUMMARISING THE CONDITION OF THE PROPERTY

Over the past few months we have been unpicking the individual elements of the property for you to consider during your viewing. So have our blog open on your tablet or phone to help you follow the sequence, external elements first,  then internal ones. Print off the tick sheet below and when you have checked off all the items, you will have an idea of any potential issues prior to making an offer.

A surveyor undertaking a full building inspection would be able to spend hours looking around the property. However, the agent will often limit you to 20 minutes  – or less.  Hence this checklist cannot be a substitute for a professional building survey before signing the contract. But it can save you a lot of grief when deciding to make an offer!Buy yourself time by getting there early to do your external viewing before your appointment, or stay around afterwards.

If there are many negative responses or big queries raised by the tick sheet, then do some more research on Google or ask a competent friend in the building industry for their thoughts – and if you’ve used our services before, you know you can drop us an email too.

CHECKLIST

Please feel free to print this off and take with you as a checklist while you work through the information on our blog:

Desk research before you view:  check Environment Agency for  flooding,  check crime statistics, check Zoopla/Rightmove for earlier floorplans and sales history/prices.

On arrival: Neighbourhood? Noise in vicinity?Parking on and off peak?

External Elements

Chimneys:  Leaning?Failing pointing?

Roof: Dishing? Age and condition of roof covering?Missing or damaged tiles?

Gutters: Evidence of leaks?Vegetation? Slope away from downpipe?

Walls: Leaning? Cracks? Poor render? Blocked airbricks?

Windows :Type and age of glass and frames?

Doors: Open and close easily?

Internal Elements

Lofts:  Condition of sarking felt? Size and regularity of timbers? Insulation?

Ceilings: Cracks regular (plasterboard)? Cracks irregular (lath and plaster)? Artex present?

Partitions (Internal walls):  Thickness? Solid? Stud? Any removed?

Dampness: Any visual evidence of damp? Mould? Salts? Staining?

Floors: Solid? Suspended timber? Any movement?

Before leaving :

Outbuildings: Condition of sheds, conservatory?

Grounds and boundaries:  Fencing good? Walls not leaning or cracked? Retaining?

Plants and trees: Trees near the building? Unrecognisable plants (knotweed)?

Spoken to vendor about works carried out in the past?

Spoken to neighbours about good / bad aspects of the locality?

Lofts and Attics

Lofts and Attics

Loft spaces

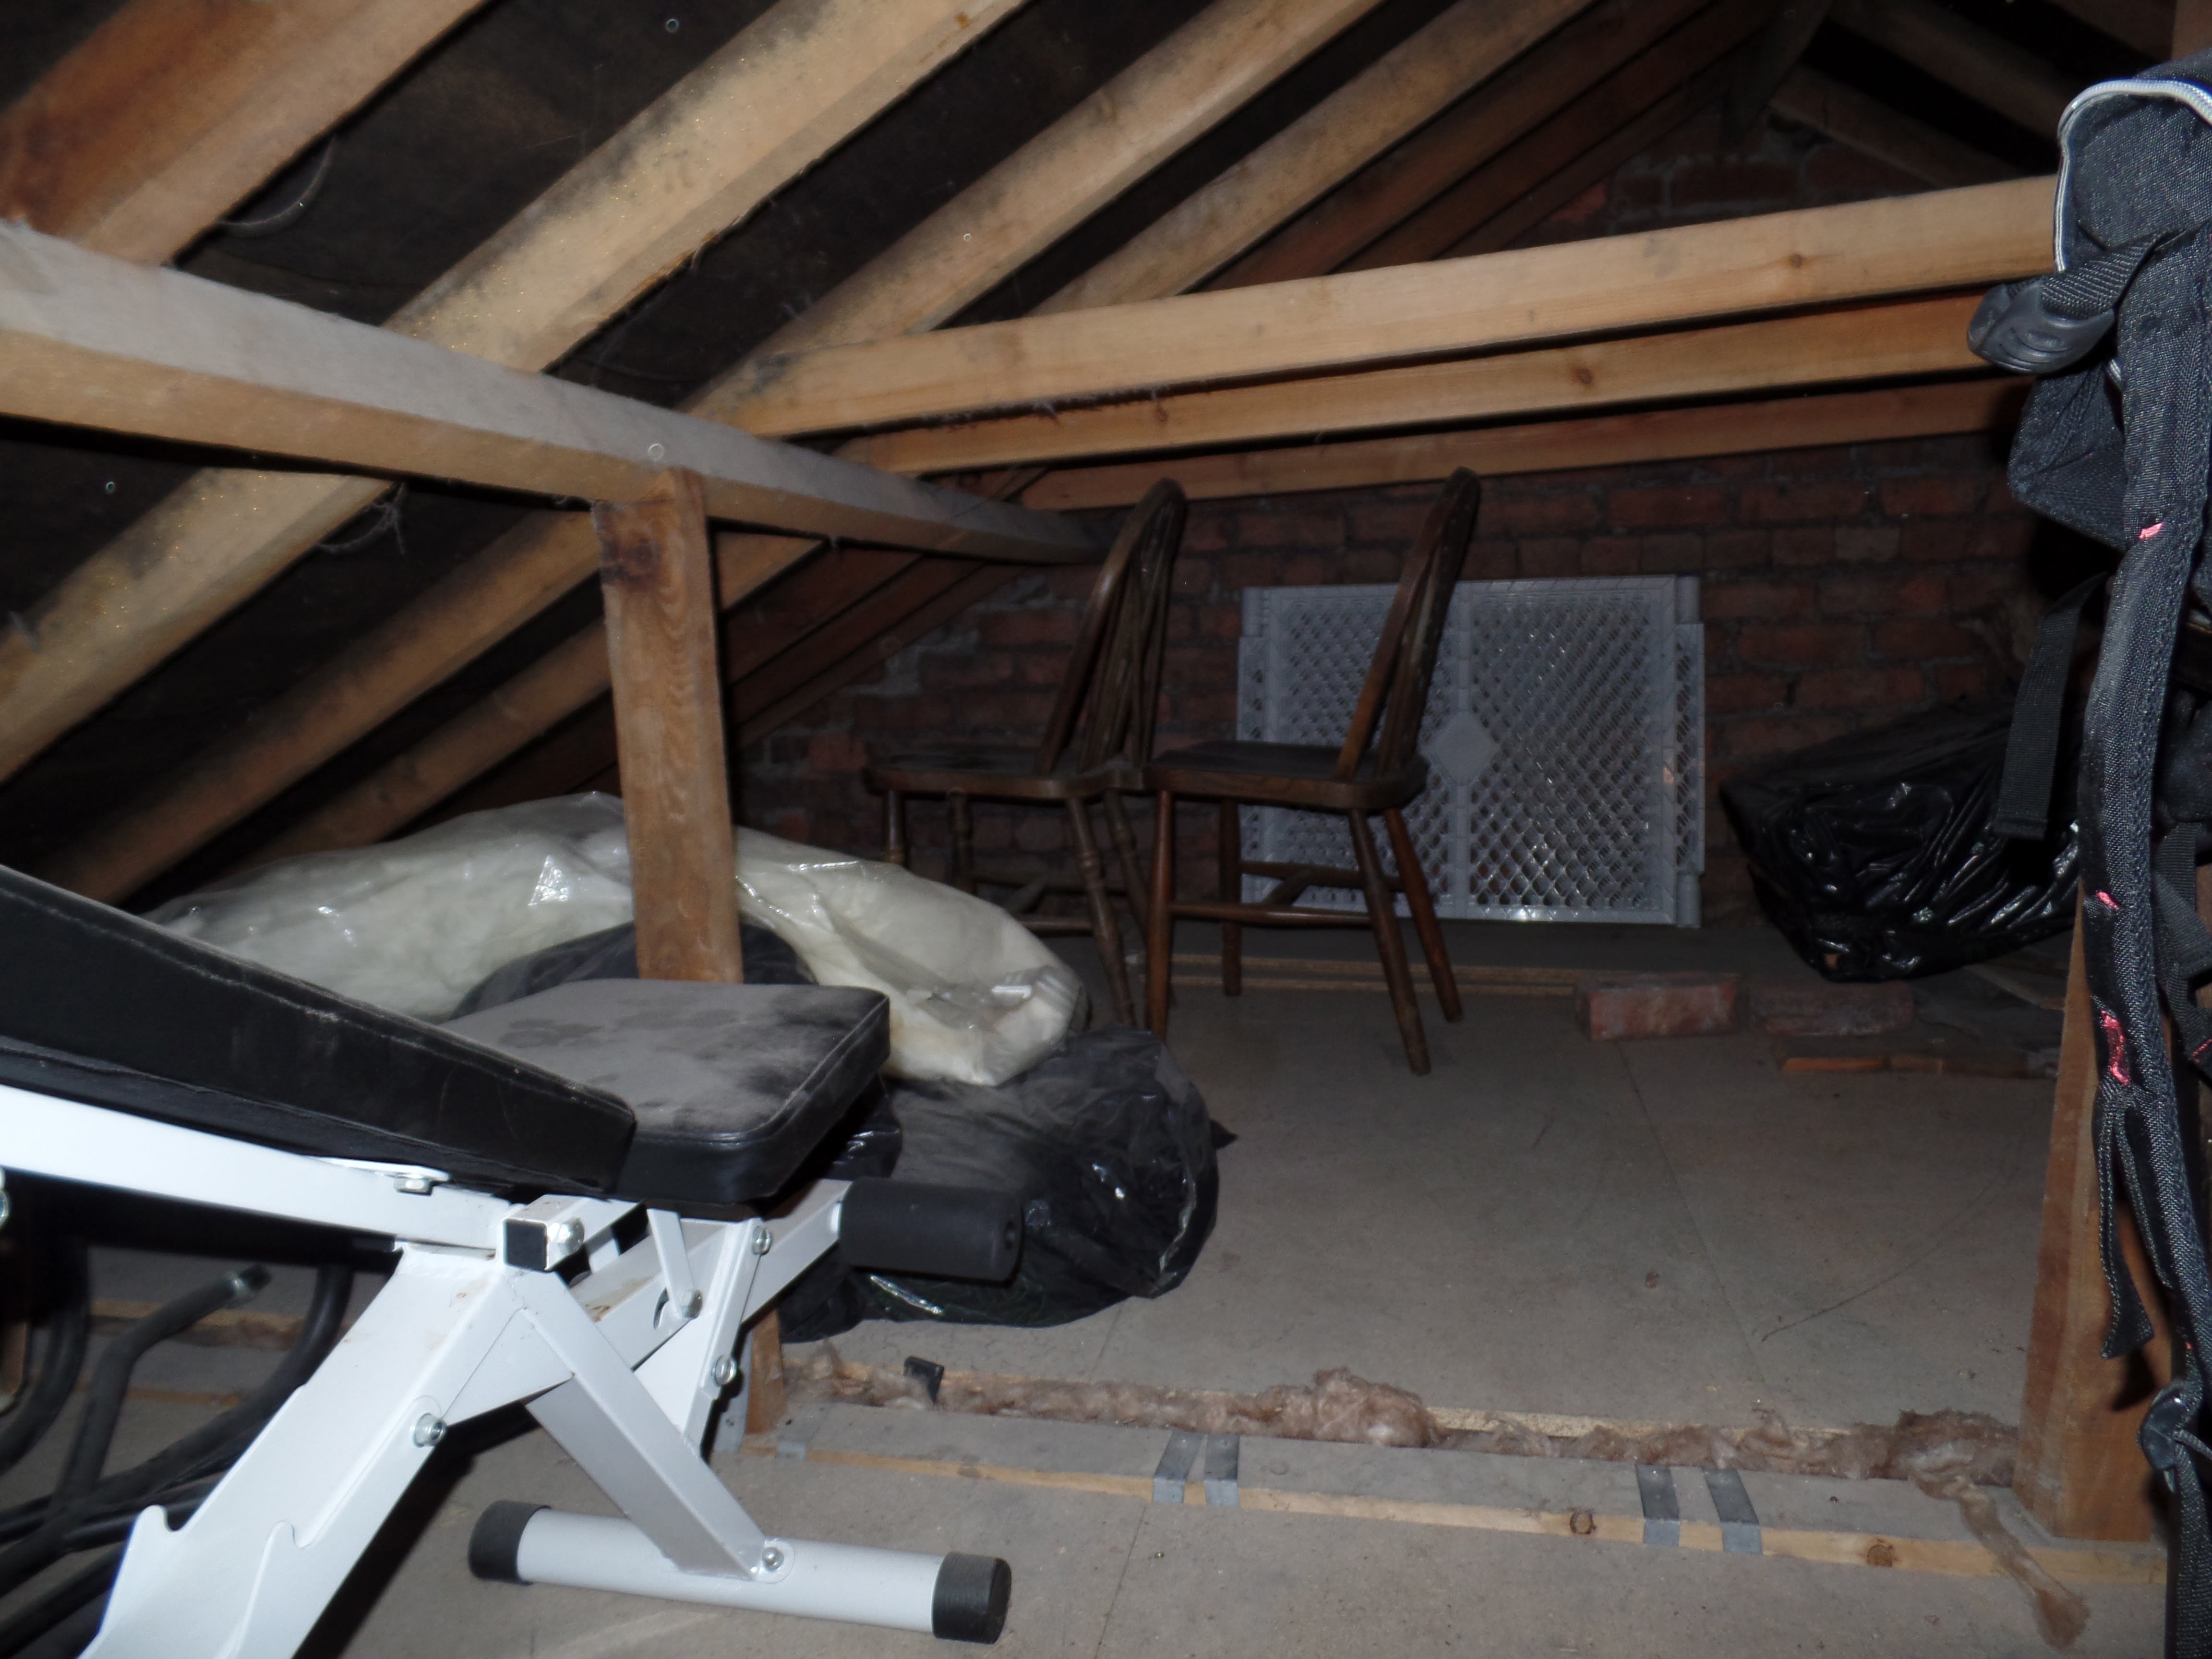
You are unlikely to get access to loft spaces when doing a general viewing. It’s easy to put your foot through the ceiling below when you slip on a joist! And this will be on the vendor’s household insurance or agent’s insurance so you would not be popular. So don’t be surprised if the agent will not let you check the loft void.  Just smile, knowing we will check it thoroughly for you after you have made your offer.

However, you may be allowed to poke your head and shoulders through the access hatch, as for a homebuyer’s report. Or you may be buying a property privately.

Precautions

Checking lofts is not for the faint hearted as spiders, wasps, mice, flies and rats also make these locations their homes. If you don’t like creepy-crawlies, don’t go exploring in a strange loft!

Some of the older types of loft insulation have been known to contain asbestos. So do be careful and wear a PP3 level mask before opening any loft hatch of an older property.  And carry a torch with a long beam, as very few loft areas have lights.

There are three main aspects to consider in loft spaces:

Sarking Felt

Roofing (sarking) felt is designed to keep the roof waterproof, lying beneath the tiles. It should stick out into the gutters.

One of the best easy tests is to simply turn off any torches or lights and look to see if daylight is visible through the roof or eaves. This suggests holes in tiles and felt or detailing (finishing) problems.

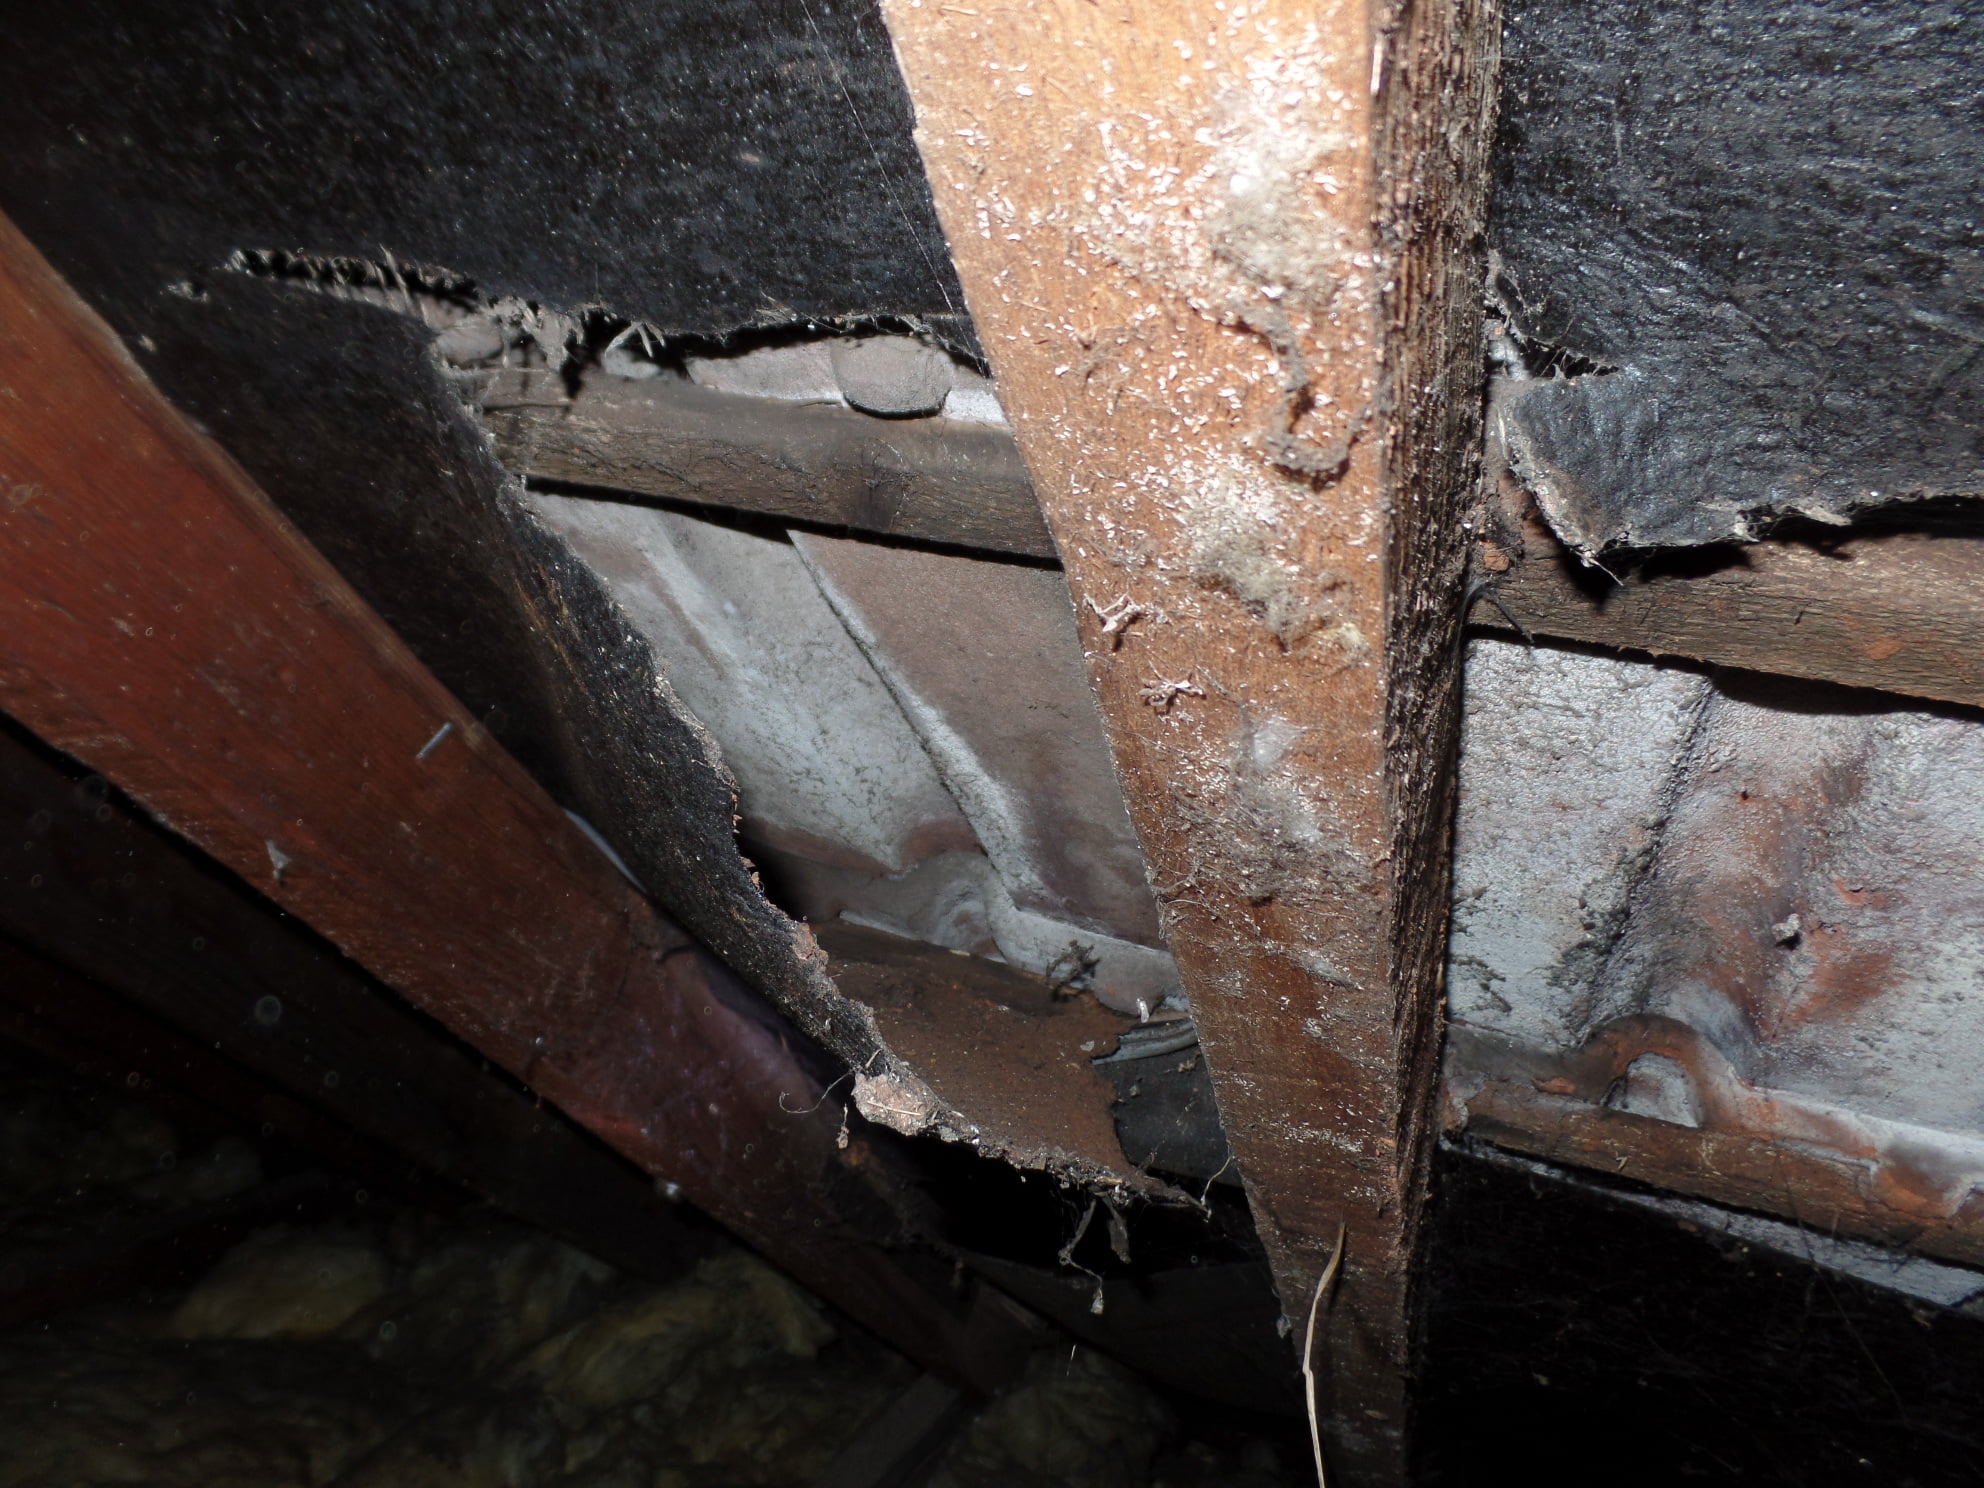
If the black bitumen type felt is present, this is a much older felt.If there are large rips or tears present, it may need replacing.This is a very expensive job -say £6k+.Differing colours of felt indicate where patch repairs have been made internally. These are rarely successful and again replacement in probably necessary.

Is the felt white, blue or green coloured, with tiny dimples? This suggests that the roof has been recovered in the last 20 years with a stronger breathable type of felt and should have a long service life left. However, look for rips and tears, due to poor installation. And condensation can still cause mould growth.

Timbers

The main things to look for are split or bowing timbers in a roof structure. Cracked timbers are often very noticeable as the sharp edges and shear nature of cracks tend to draw the eye. Rafters, struts and braces can often be strengthened internally without the need for expensive scaffolds.

Where major components such as purlins have bowed, this is seldom an “easy” fix. It may have been caused by heavier replacement roof tiles, for example.  Often a new larger purlin will be required, at considerable expense.

Bowing timbers change the way that load is carried through the building. Bowed purlins and rafters do not transmit straight down at 90° and instead push outwards.This puts additional stress on the masonry. When rafters dish in this manner, it can cause” roof spread”, damaging the supporting walls below.

Keep an eye out for patches where the timbers have clearly been stained by water in the past (or at  present!) This is most likely around chimneys, where the flashing above has been damaged.  Rot may have already set in.

Insulation

With the ever-increasing cost of heating, loft insulation has been retrofitted in many homes.

Beware! Older types of insulation were vermiculite, gold shiny coloured lightweight pellets and blown cellulose which looks like tiny fragments of newspaper – which is often what they were. These types have been known to contain asbestos. If these are visible, don’t go any further into the loft – be thankful you are wearing a mask!

Sometimes the loft floors have been boarded so it is difficult to add insulation.Modern Building Regulations require 270mm of mineral fibre. This is rarely achieved as the rolls normally come in 100mm thickness so 200mm is more usual.

Sometimes the insulation has been poorly installed or has been pushed right into the eaves. Then the loft space can’t breathe or ventilate itself. Condensation then builds up inside the roof void, damaging the timbers in the unseen areas in the eaves.

Pitched Roofs

roof

Pitched Roofs

Roof repairs can be very expensive, not just the materials and manpower, but will possibly require scaffolding as well. So take binoculars or a camera with a powerful zoom to enable you to visually inspect the roof covering.  You can do this at any time, without the agent having to be present. As always, look at the neighbouring roofs see if they have recently been re-covered, a good indicator of when yours will need doing.

What is the roof covering ?

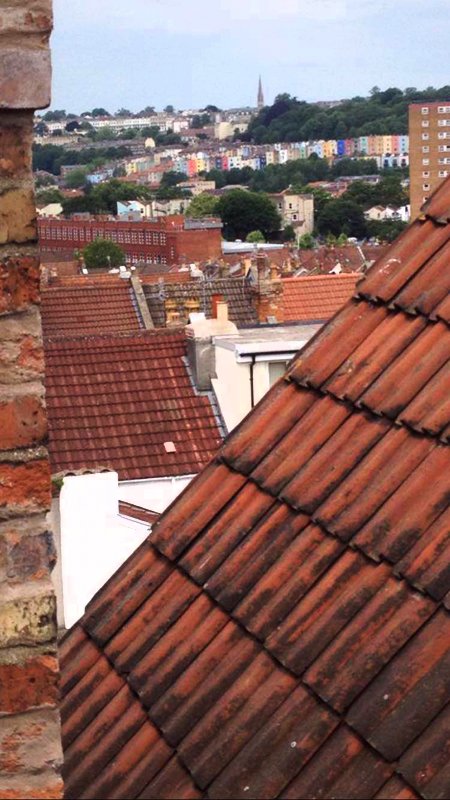
Next, focus on an individual tile and try to determine what it made of, clay (older) or concrete (more recent). In some areas, older properties have real slates. Concrete tiles indicate a post-war roofing replacement. Is there anything special or unusual about the type of roof tile? Some tiles such as Triple Deltas and Bridgewater tiles are not as readily available as more common types such as Pantile or Double Roman.Hence they are more expensive to repair or replace.

Can you see any defects?

Are there any slipped or missing tiles? These indicate a lack of routine maintenance but also water ingress is very probable.  Water can cause damage in a timber loft space which can be very expensive to repair! If there is some lighter colouring of the surrounding tiles, this may indicate a more recent break or slip.

Is the roof a “patch work quilt” of differing colours of tiles? Probably someone has made many repairs and it may be time to replace the roof covering completely. Also, look out for small grey tags known in Bristol as “tingles”; these metal (usually lead) clips are used to secure individual tiles and they indicate localised repairs have been carried out. If you see any grey coloured tape, this is normally called ‘flash band’ and is used as a temporary repair. However, it is simply a sticky tape and cannot be considered permanent – the defect should be properly repaired, not just taped over!

Can you see any ‘lifted’ tiles, ones that are not lying flat? If so, there could be a problem with the roof structure beneath. Where the property is in an exposed elevation, the tiles may be vulnerable to lifting by wind and regular repairs will probably be required.

If there are a great many slipped tiles, possibly the roof is suffering from ‘nail fatigue’; the nails have started to rust away and can no longer hold the slates in place.Although such failures may occur in a localised area initially, it is highly likely to occur more widely in the near future.

Man-made regular roof ‘slates’ can be asbestos containing. They are fixed centrally with a single nail and may start to ‘ cup’ or dish. When this happens, the life span of the roof covering  becomes  very short.

Get an overview of the roof structurally

Finally, try to check the structure. Look at the condition of any mortar such as along the ridge or the hips. If the mortar is missing, this indicates lack of routine maintenance.These areas will require repairs at the very least and possibly more extensive remedial action.

Is there any ‘dishing’ to the roof covering?Do the tiles lie in a straight line? If not, this suggests an inadequacy in the roof structure beneath, possibly very costly to remedy.


Location Location Location ……

domestic surveys

Location Location Location

Location Location Location…

Is this the neighbourhood where you really want to live?

A Building Survey will analyse the building in detail but other factors in the locality need to be considered. So before you make an offer, carry out your own research on things such as……

  • Flood Risk. This information is free and readily available from the Environment Agency through a simple postcode search on the following link:

http://apps.environment-agency.gov.uk/wiyby/37837.aspx

  • Google the postcode along with search terms such as ‘mining’– subsidence is an expensive problem! .This research will not only give you an idea of past activity but also whether there are any future proposals for the area.
  • Crime Don’t forget to check out the crime statistics on the following link:

https://crime-statistics.co.uk/postcode

Avon and Somerset Police also have their own archive for localised criminal activity.

Look for any empty or abandoned buildings nearby.

Check for syringes, beer cans  and  other evidence of antisocial activities.

  • Parking

Have a look at the parking provision in the area, not just at the time of the viewing but have a drive past when everyone is home from work.

  • Traffic

Is it on the route to an industrial estate, with heavy goods vehicles passing that could shake the property?

Is there a railway line nearby, factories or other activities that may generate noise at night?

  • Transport links

Is there any public transport in case your car is off the road for a while or you can’t drive?

  • Lighting

Is there adequate lighting at night? Would you feel safe walking home from the bus or train in the dark?

  • What’s in a name?

The road name may give an indication as to the history of the property for example Mill Lane,Quarry Road or Stream Way.

And  then of course, schools, shopping facilities, leisure provision…


Now, about the property itself.

Look carefully at the other properties in the immediate vicinity, particularly those built in the same style. Neighbouring properties have been re-roofed, but your target property hasn’t. For example – if the buildings are the same age, recognise that you may be facing a re-roofing cost  of upwards of £6k. The same applies to replacing double glazing, cracked render, leaking guttering, and removing chimney stacks – if the neighbours have already done it, your dream home may require it to. That sparkling new paintwork may be hiding a multitude of issues.

Check out the History

Check out the history of the property on Zoopla or Rightmove. If the past listings are available, look at the pictures see if there are cracks in the walls or changes to the roof. Especially helpful are previous or neighbouring properties’ floor plans – check to see what if any changes have been made, such as removing chimney breasts or internal partitions for instance, or installing ‘loft rooms’. All these need Building Regulations approvals, to ensure that the work has been done correctly.

Ask Questions

Above all, try to visit (again!) when the vendor is around and ask them what has been done, what permissions have been obtained, what guarantees exist– you will soon have a good understanding of the quality of the alteration or refurbishment work. And it will help to establish a relationship with the vendor, so they may be more amenable if you need to ask for a reduction in the price to cover any hidden defects discovered when you have had a Full Building Survey.It is always a good idea to speak with the neighbours and ask what they think of the area or future developments or if they know anything of past works at the property you are looking at.

domestic surveys news

Our New Website

Welcome to our new website which will be updated with the very latest Domestic Surveys news, videos, industry updates and events, so please check back as often as possible.