Artex Ceilings


Artex Ceilings

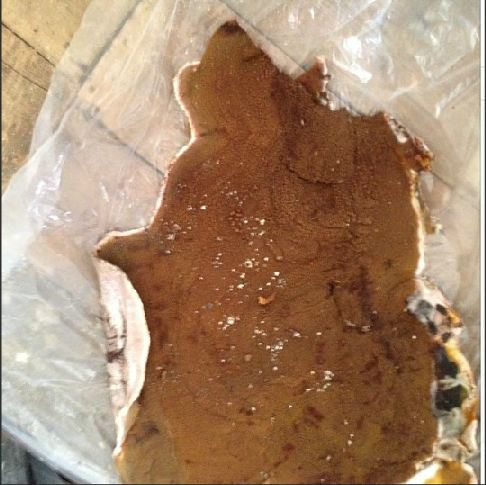
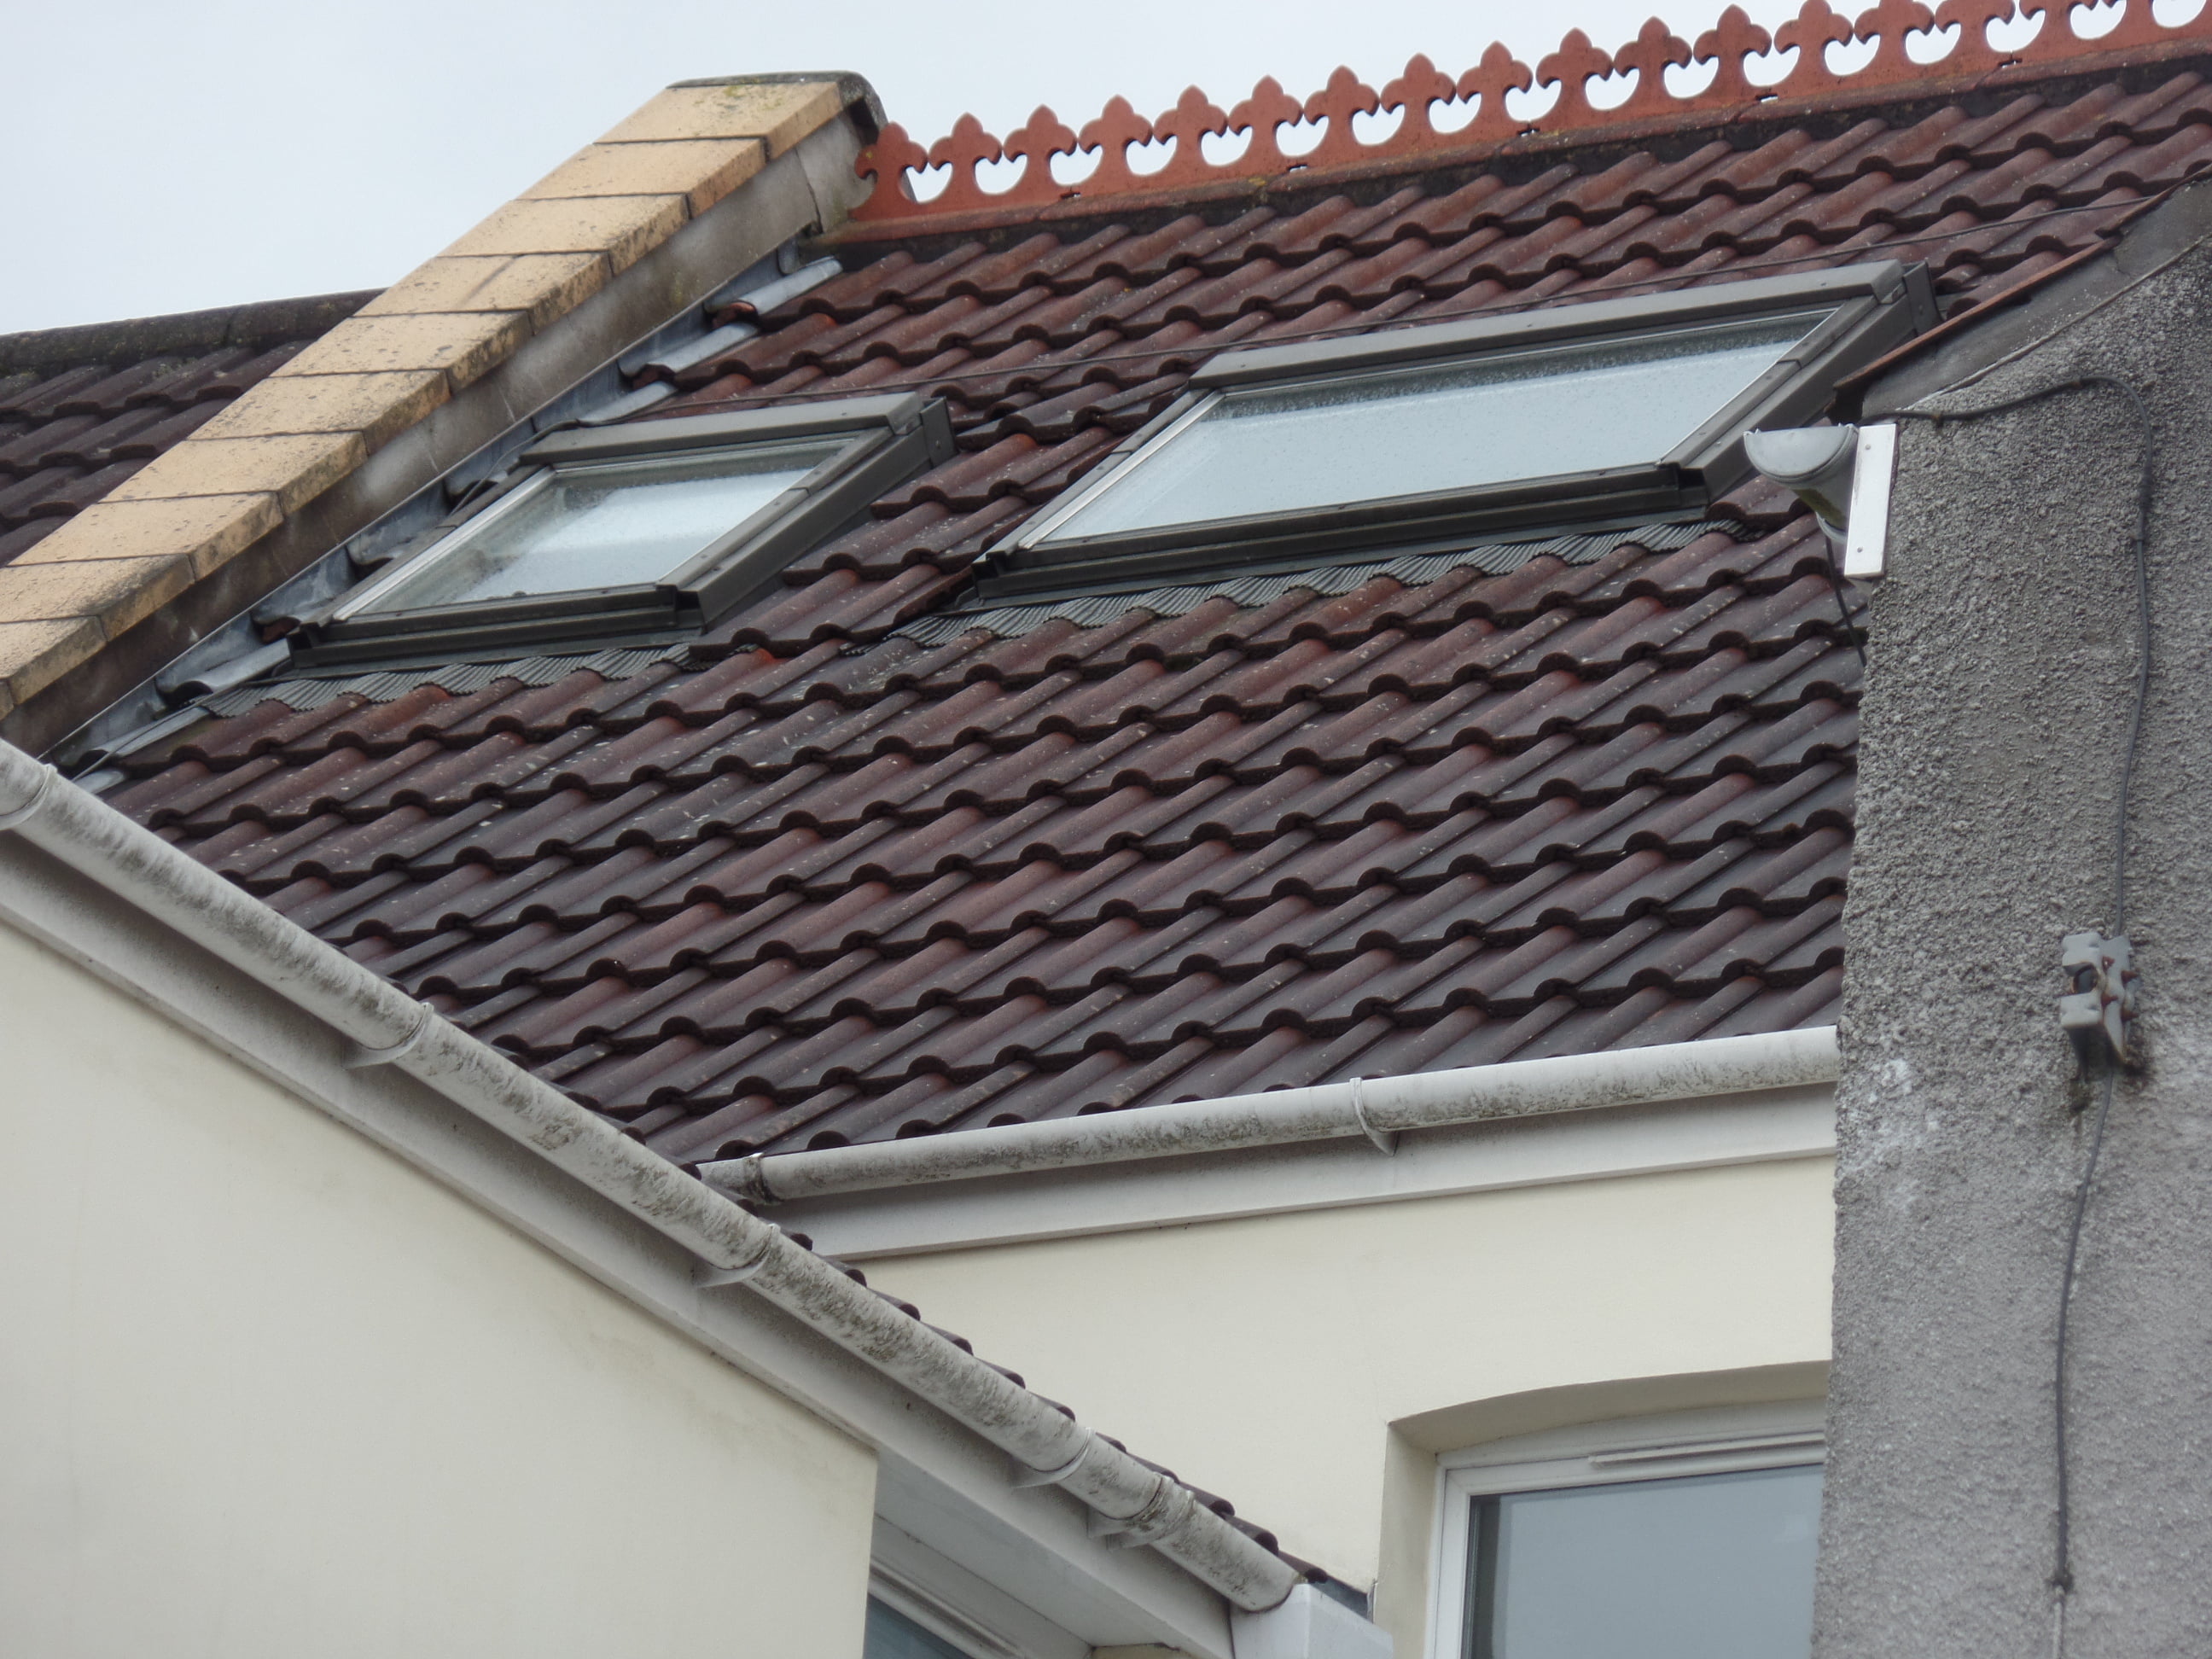
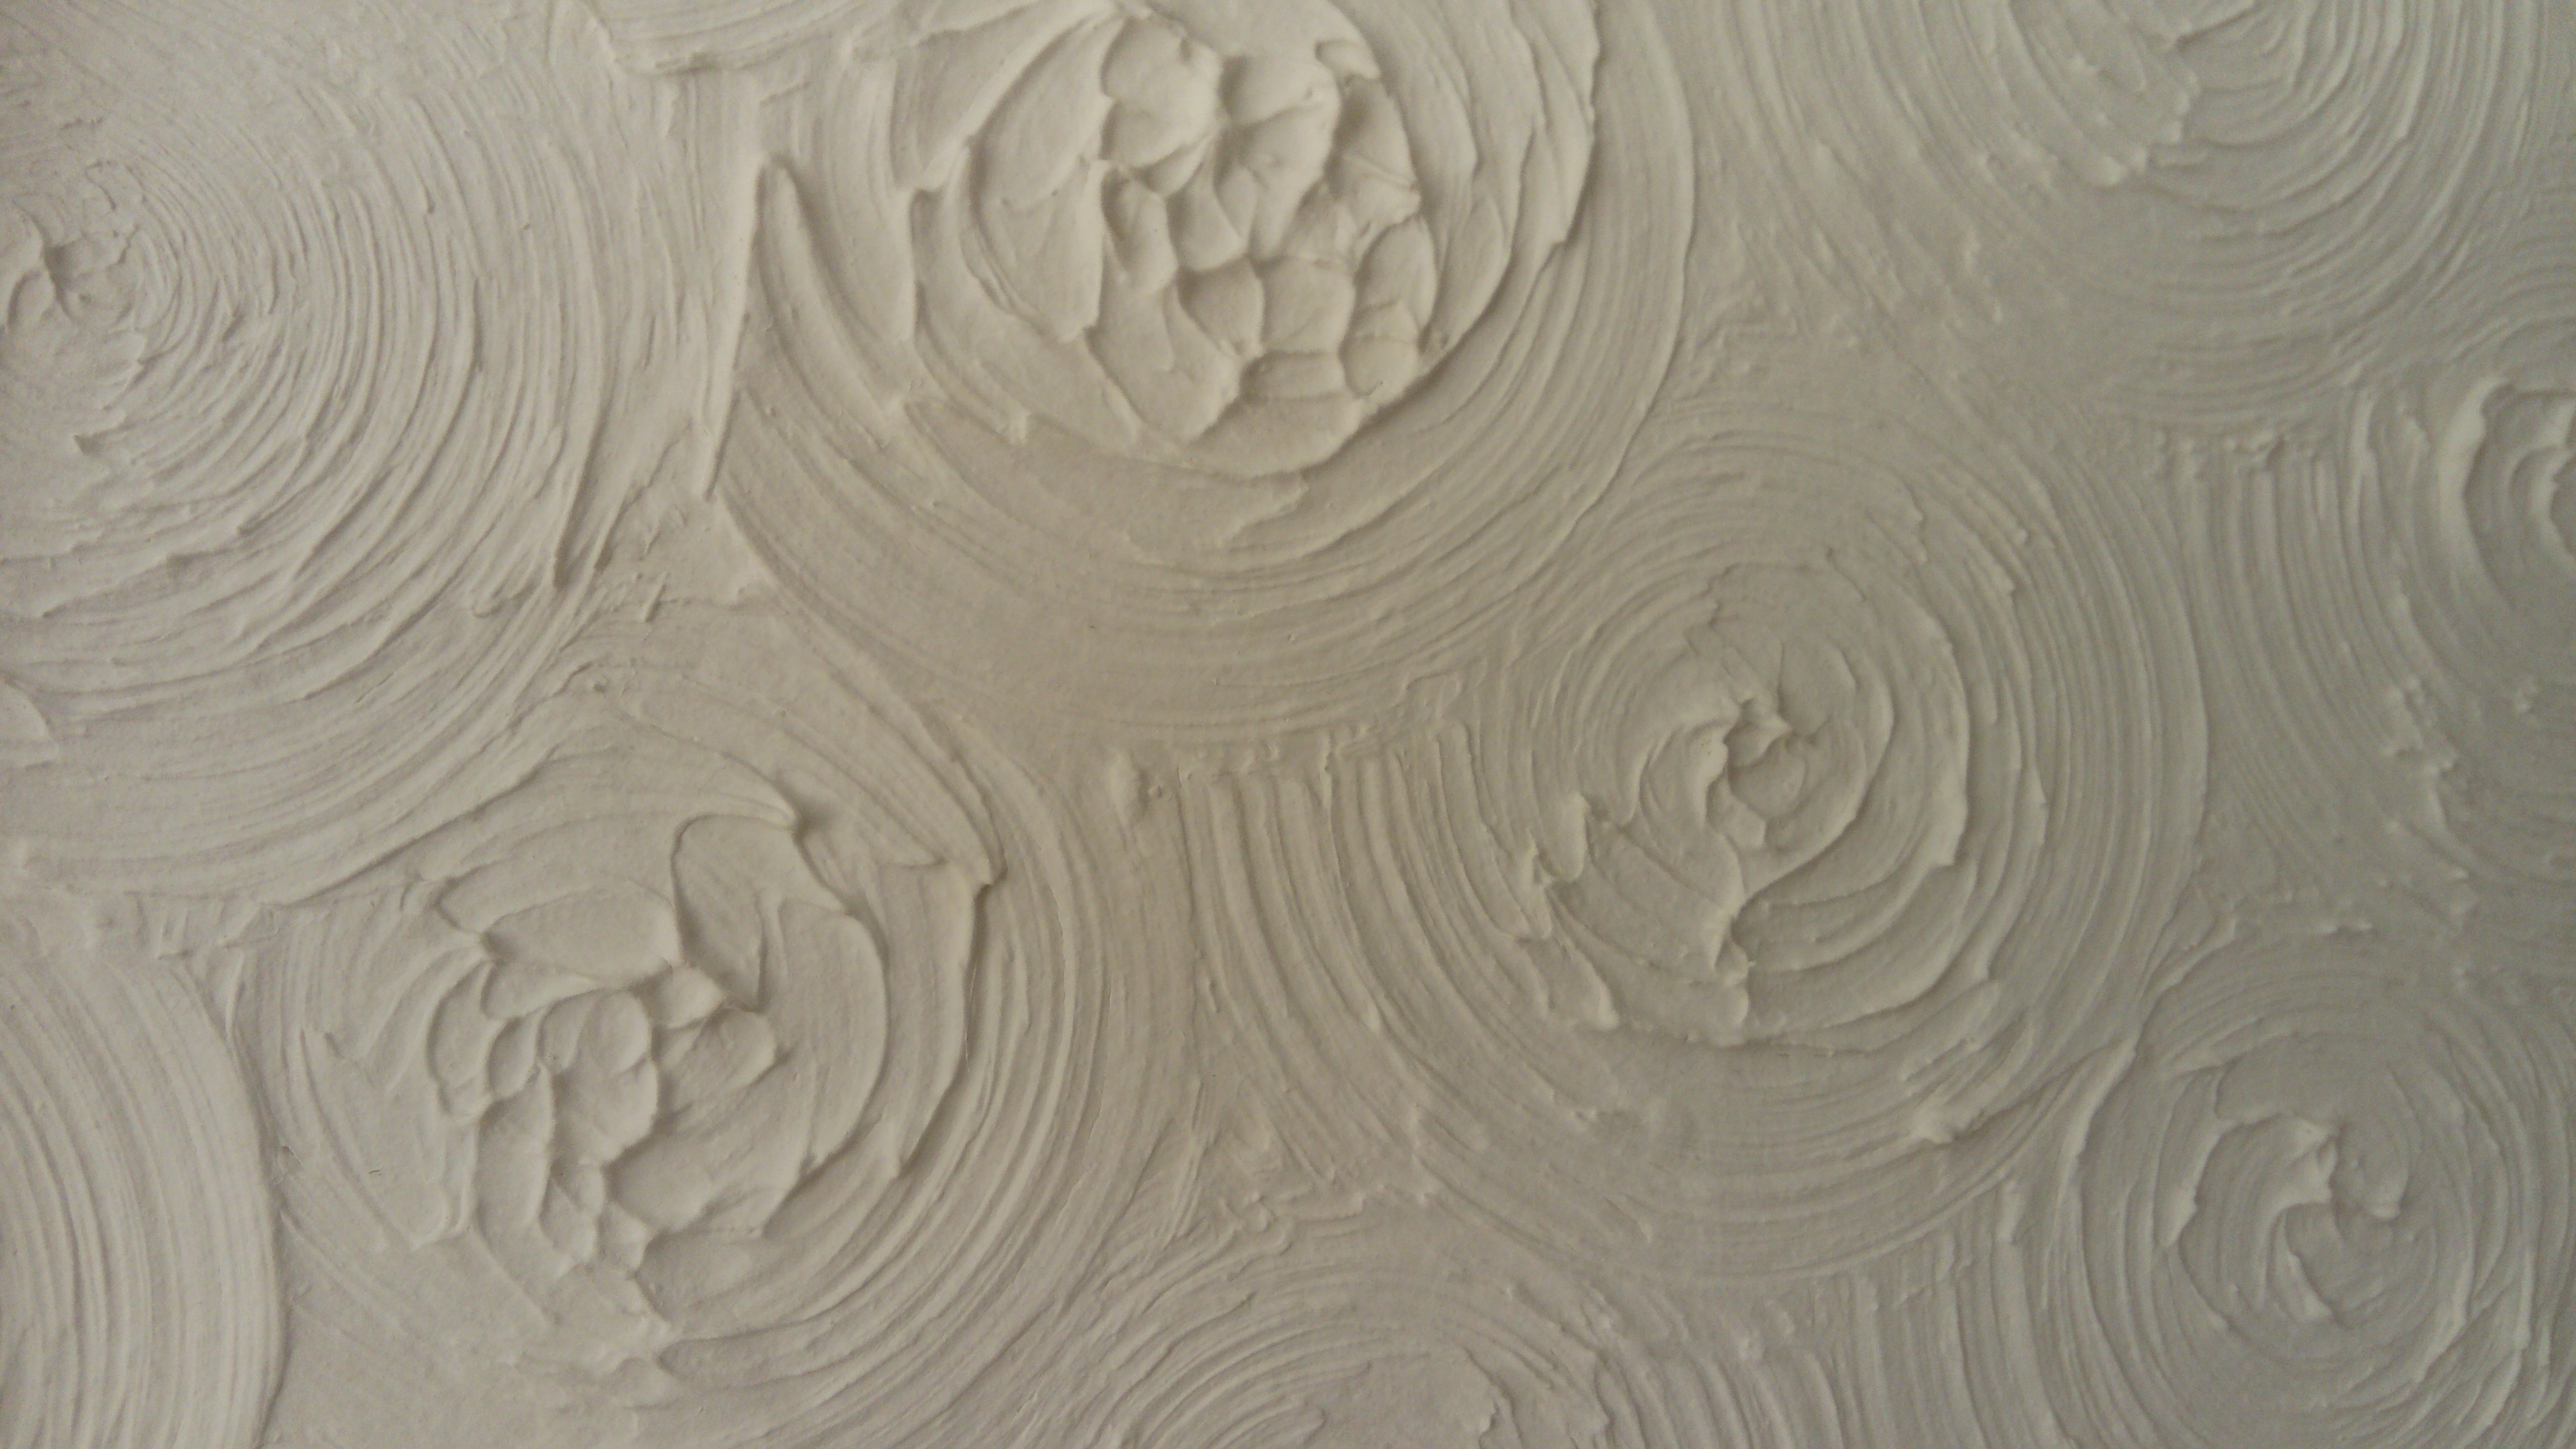
When we are carrying out surveys, one of the most common things we note as a ‘potentially asbestos containing material’  is Artex™. The brand name Artex comes from combining the words artistic and textured. This  textured coating  was applied to many a ceiling or wall in both residential and commercial properties the length and breadth of the country. It became particularly popular from the 1970’s onwards. Artex is still readily available from most DIY shops.

What is Artex used for

Artex is used to hide older cracked lath & plaster ceilings. It reduced the need to skim a ceiling in quickly constructed 1980’s houses. It was very much in fashion and produced perfectly acceptable ceilings mainly with the familiar stippled and swirled patterns that didn’t require plastering skills. So the owner could ‘keep up with Joneses’!  It was also applied to walls in the same fashion. However, it is very difficult to match the pattern when trying to repair it.

The Issues

There is a lot of differing information as to when asbestos stopped being used in Artex as a strengthening fibre. Some say it was banned in 1985, some say it was 1999. This may be due to the dates on which different types of asbestos were made illegal to be used in the UK. This reflected the differing natures of blue and brown asbestos as opposed to white. We have sampled ceilings post 1985 and white asbestos was shown by laboratory analysis.

In the last few months, Bank Valuers have been noting the presence of Artex during the basic level valuation survey. Although they have stopped short from requesting that it be tested, they have recorded it. Some experienced Estate Agents are also bringing it to the vendor’s attention when visiting the property to value it for sale purposes.

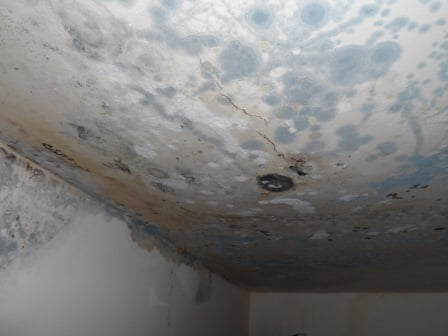
For many years insurance companies have taken the presence of Artex very seriously and insisted that all Artex pre 2000 be tested for asbestos content when an insured peril has occurred.  For example, when Artex ceilings or walls have been damaged by a leak from a pipe or sanitary ware or rain water ingress.

What to do about it?

If Artex is present in your home already it does not necessarily pose an immediate and dangerous hazard. Is it in good condition and well sealed (i.e. painted) ? Then even if it is asbestos containing, the fibres are bound up in the matrix of the material and painted surface.

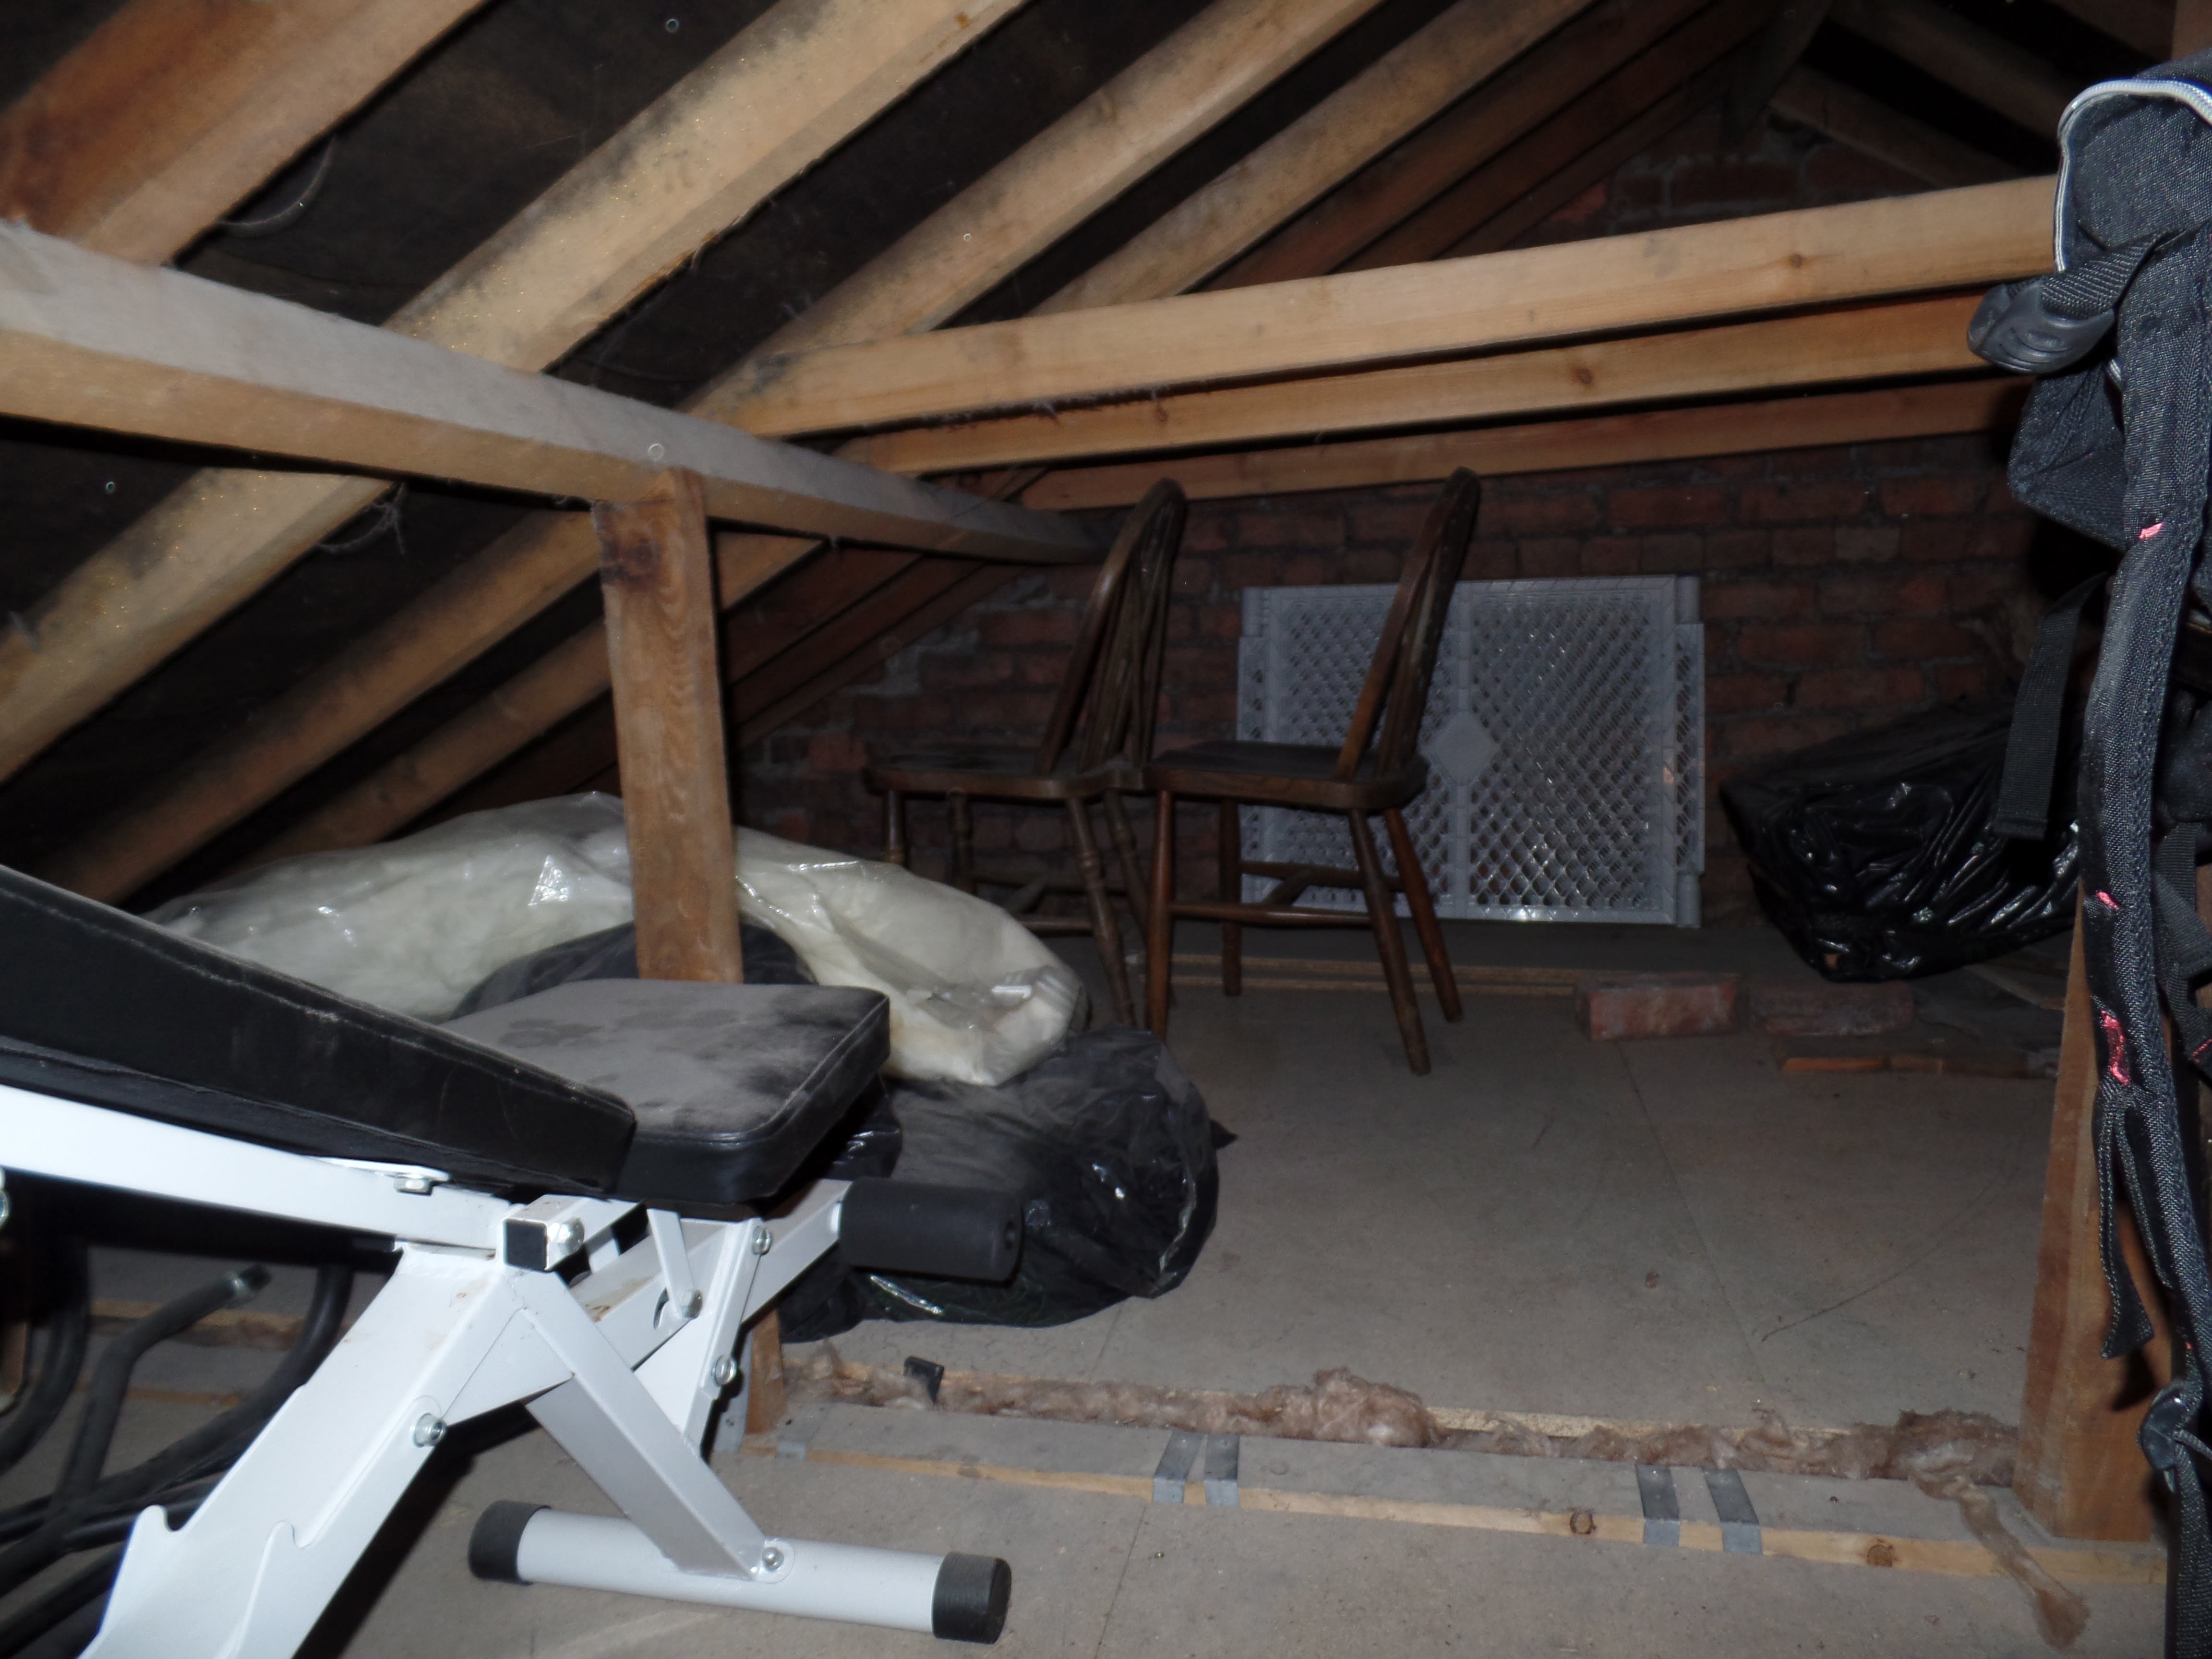
It is most likely to be disturbed during refurbishment works, for example  general improvements such as lighting or fixing to ceilings.  Leaks or other insurance related accidents, moving walls or adding Extensions can also damage it.  If it is in sound condition, then the easiest course of action is to leave it in place. It is also possible to seal the Artex with PVA glue and skim over the top, depending on the thickness of the pattern. This can be termed ‘encapsulation’ and you should document any such work in detail so future occupiers understand not to disturb the coating.


The A Word

The A word

What is Asbestos?

When you are in the process of buying a house, the A word is one of the scariest you can hear. This is due to the culture of fear that surrounds the subject. There are still a large number of deaths that occur as a result of historic exposure to the material.

Asbestos is a naturally occurring mineral that was mined in Canada and South Africa. It has been used for centuries as it has amazing qualities as a good insulator with extraordinary fire resistant properties .It was regarded for a long time as a wonder material that had so many differing applications from ironing boards to Christmas decorations. It is our intention to run a short series of blogs, over the next few months, on the use of asbestos in buildings. If you have any concerns over a property you are looking to buy and you need to have samples taken and tested, Domestic Sampling is able to provide an independent service, incorporating analysis by UKAS laboratories, all for as little as £75.00.


Types of Asbestos

There are many kinds of Asbestos but in UK construction we mainly refer to Blue (Crocidolite), Brown (Amosite) or White (Chrysotile).

Blue and Brown contain amphibole fibres that are small, harpoon like needles. They can be released when materials are abraded, damaged, broken or drilled. These cause greatest concern when found, as they present the most danger to health and thus the most serious financial implications for removal. If the contaminated area is over 1m2 then the Health and Safety Executive must be informed and a Licensed Contractor should be used for its removal. There are a limited number of contractors available to do this specialised removal and all their operatives must be well trained. Inevitably this work will prove costly. The use of Blue and Brown Asbestos was banned in the UK in 1985. It is most commonly found in industrial environments, for example Asbestos Insulating Boards (AIB) and pipe lagging.

White Asbestos contains serpentine fibres that are longer and more flexible in nature and they to are normally only released during abrasive or intrusive contact with the material. This type of fibre was normally used to strengthen other materials and to provide fire proofing. It is normally bound up tightly within the material it is a component in, such as corrugated sheets, boards and Artex ceiling coatings. These require a Competent Contractor as opposed to a Licensed Contractor for removal. To qualify as such requires an intensive training course and the acquisition of the appropriate insurances and disposal certificates. The use of White Asbestos was only banned in the UK in 1999 which gives an indication of the level of risk ascribed to the differing materials by the Health and Safety Executive.


Under The Floor

What is lurking under those floorboards ? Ask a robot –

All sorts of nasty surprises may lurk beneath the floor boarding! Wood boring insects, dry rot, wet rot and vermin infestations for example. The spaces underneath the ground floor of properties are  rarely accessible. However, some houses we visit will have loose floorboards which we can lift, normally beneath the stairs. Sometimes behind the front door is a hatch, often secured by just a few screws.This gives access to the stopcock which is often located inside the front door and also to the space below the floorboards.

How can technology help?

At Domestic Surveys we are always experimenting to see how technology can deliver a better survey for our clients.While all the time staying within the price constraints we set for a pre-purchase inspection report. We were the first in the South West  to use the pole camera on every building survey and have been doing so since 2012.

Endoscopes are useful but have physical limitations. We used these for some time as this video from 2013 shows.  This video has had well over 2000 views since being published! We were pushing the boundaries of what we could offer during a full building survey.It’s very difficult trying to hold the endoscope in position for a long period of time whilst using the camera. Definitely not easy with only two hands! Also you need to know where you are in relation to the camera. You have to manoeuvre the flexible neck upwards to look at the underside of the floorboards for example. Lying in the stress position operating this is physically demanding!  Especially after you’veclambered around the loft, hoisted the mast camera, done damp testing, asbestos sampling and tested the glazing.  Certainly a good physical work out!

And now? A robot !

We wanted something small enough to allow us to inspect the undersides of floorboards for wood worm, the size of the floor joists, the damp proofing and ventilation arrangements. We’ve been experimenting with remote control vehicles that are low profile enough to slip into these voids, carrying a camera. We then found this Bluetooth controlled vehicle with profile of around 100mm which can fit between the floor joists in shallow voids. It has tracks so it can rotate on the spot and also it can look up and down.  If it gets lost, it can even find its own way back!

As always, the skill is not in capturing the image but in being able to analyse what the image represents. This may include distinguishing woodworm flight holes from say mouse droppings as they are the same size. Or rot mycelium from timber decay, compared to say cobwebs – another challenge that this technology represents. Getting the images is becoming simpler but analysing the image incorrectly can be a costly mistake.

Take a look

You can see this amazing piece of technology in action here: https://youtu.be/pIxYgFsJZOg

We do not do this as standard, YET! We are trying to perfect utilising it but no doubt this will form part of our future offering.  Or on special request if you have a specific floor defect that you wish us to look at…


Pitched Roof Structures


Pitched Roof Structures

You’ve clambered up into the roof void, the attic. What’s the function of those wooden planks and what problems are associated too?

Unless it’s a flat roof, the upper most board that normally runs across the top is the ‘ridge board’. This is the apex or peak of the hipped roof.

Then running from this ridge board to the walls are the rafters. These are normally 3”x 2” in Victorian housing; in the 1930’s, the thickness was increased to 4”x 2”. Yes, imperial measurements, not metric, in those days!

The rafters have to span half the width of the house, so they are normally supported mid span by a large timber called a purlin. This stops them bowing or sagging under the weight of the tiles. We have seen purlins as thin as 4” x 3” in some properties in Gloucester Road and St George. With better quality Victorian housing, say in Fishponds, they can be up to 9”x 3”.

These are often supported mid span by a diagonal brace (called a strut) to take the loading (weight) to the central spine, the load-bearing wall in the middle of the property. Otherwise, the strut may be fastened onto binders. These are timbers spanning across between the load-bearing walls to stop the purlins bowing.

If you have read our blog on Pitched Roofs, you will know about ‘roof spread’. Sometimes even these reinforcing  arrangements were not enough, or have been removed, so additional struts were also used,  sometimes with collars. These struts run between the rafters just above the purlins, to give triangulation to the structure.This sends the weight loading down to the load bearing walls at 90⁰, preventing them from spreading and pushing the tops of the walls outwards.

Types of Roof Structure

Before the 1960s

Before the 1960’s, most roof structures were of traditional cut timbers, sometimes called “carpenters’ roofs”. As it sounds, each length of timber was measured and cut by hand, then lifted into place and secured with nails.

There were various designs of roof around during the Victorian era.  Inverted or Butterfly roofs were very common in Totterdown and Easton.  These have a central valley running down the middle to take rain water away so are prone to leakage. The structure is often problematic and cannot be inspected from the ground. These must be inspected from a pole camera or ladder. The valleys were supported by a ‘roof plate’ underneath. This was a substantial timber running under the valley from front to back.  These roof plates have often deformed under the weight of the tiles and water ingress issues have often caused decay. These roof styles stopped being used at the beginning of the 1900’s.Such roofs cannot easily be converted to habitable space as they have limited headroom.

In the 1930’s, usually in end of terrace houses or semi-detached properties, the sloping hip timbers run to the external walls.This hip is supported by a hip board or timber and the cut rafters around it are called jack rafters.

From the 1960s

Around the 1960s trussed roofs started to gain in popularity. They incorporated the rafters, ceiling joists and bracing into a large triangular structure. These were manufactured off site and craned into place.  Then they were fastened using gang nail plates to fix the joints together. They were quick to install and were cheaper in comparison to cut roofing as the skills required were less.

The early trussed roofs did have problems with gang nail plates rusting and failing; some properties in Horfield have exhibited this.  Such rusting is often made worse by condensation in the loft voids. The triangles sometimes tilted when installed and may not be straight and true. When some roof failures in the 1960/70’s were attributed to the domino effect of the trusses falling over, diagonal bracing became part of the Building Regulations requirements. The trusses then also had to be secured to the gable-end walls using metal straps to hold the structure together.  These are often missing in early examples of this type of roof structure and should be retro fitted.

OH, GOOD, IT ALREADY HAS A NEW ROOF…

roof

So you have diligently used our blog entries to guide you in viewing a property. You can see concrete tiles and the estate agent has said‘ Don’t worry,  it has a new roof!’ Why should you be concerned?!  Half of the ‘new roofs’ we inspect at in the Bristol area should have Building Regulations approvals and do not. Two aspects!  First, it’s difficult to sell a property without the correct approvals. Second,  the workmanship may not be acceptable if not approved.

As we know,pre 1950’s roofs in Bristol were usually covered with clay tiles (or slates) which were lighter than concrete.  Now it has a concrete roof  so we know from the planning portal that it is likely to need Building Control approvals.  This will ensure the roof structure is strong enough to support the concrete tiles. Also that Fire (Part B) and Energy Performance (Part L) criteria have also been met.

THE STRUCTURAL ISSUE

If it has been re-covered with concrete in the last say 5 years, then very little time will have elapsed. The building’s lifespan is a lot longer than ours!  And the faults linked with overloading the property’s roof structure can take years to develop. The existing timbers (the rafters and purlins) may be too thin to support the new heavier tiles. If they have been replaced, these may also be inadequate.

The replacement covering should have been constructed with input from a structural engineer. (S)He would have determined the loadings. He would then have checked that the load bearing walls were suitable for the increased loadings.

If the timbers have been replaced, they may have the stress gradings stamped on them. This shows the strength of the actual timbers.  C16 is weaker or C24 is stronger. The trada tables then give allowable spans depending on the centres.

Why does this matter? First the rafters will bow, causing the load(weight) of the roof to be sent at an angle into the walls. However, the load should besent vertically straight down to the foundations. This often leads to cracking around the tops of the walls, commonly known as roof spread.  This can be seriously expensive to repair.

Eventually the roof itself will deflect and the tiles become loose… look at the ridge line carefully!


WHY WOULD YOU SPEND SO MUCH MONEY AND NOT HAVE THE WORK APPROVED?

It is not normally the vendor’s fault! Roofing works are very expensive so it is likely that the cheaper quotes were accepted. From the roofing contractor’s  perspective,it does make life easier not to inform Building Control!  Awaiting Building Control inspections can delay payments and hold jobs up. And if the work is not inspected, the contractor would not be held liable for infringements at the time.

It is likely that this missing compliance “paper trail” is only identified when selling the house.It normally comes as quite a shock to the vendor!  Indemnities are often offered by the solicitor but thesemerely indemnify against enforcement action being taken by Planning or Building Control. They do not deal with the quality of the structure in any way.

HOW CAN YOU TELL?

There’s a very quick trade secret ! If the has been recently recovered and has less than 270mm of loft insulation present, then it would not comply and hence we know has most likely not been inspected. Otherwise, ask the vendor about the Building Control sign-off documentation. If that is not present, make sure your surveyor inspects the roof structure thoroughly, which won’t happen in a home-buyer’s report !

Pole Camera or Drone?

IS IT A SELFIE STICK?

Members of the public and vendors often see us with cameras on tall poles at the front of houses.  It’s strange to see a fully grown man with a giant “Selfie Stick” as lots of people call them!They are intrigued by what we are doing and ask questions.

We have been using pole or mast cameras on every Building Survey we’ve carried out since 2012.You can see us using a 6m mast in this early video.  Over the years we have continued to refine and develop the mast camera.  Now  they can be up to 15m high, as can be seen in this incarnation from 2013.

Over this time, the cameras mounted on the 10m fibreglass poles used by all our surveyors have really come a long way. They now have tilting, panning heads to allow us to look behind parapet walls and in other hidden places.They are also much lighter and easier to handle for safety.


WHAT ABOUT BINOCULARS?

Strangely, the uptake of this technology by surveying firms in the UK has been very limited.  We pioneered the technique in Bristol!  We are still the only firm in Bristol offering this as standard in our Building Surveys -not as an added extra at a premium cost. The others tend to look from ground level with binoculars, which isn’t going to provide a comprehensive view. You will not be able to see the tops of chimneys, second storey flat roofs or behind parapet walls. Nor into the valley or butterfly roofs that are very common in Bedminster, Clifton, Easton and Totterdown .

WHY NOT A DRONE?

The main question we are asked is why don’t you use a drone? The answer is that we don’t need to use more complicated access technology to gain a similar view.

Most importantly, we need to view the sarking felt, which should lap into the gutters on a standard roof. This felt has often decayed just beneath the roof tiles; it is very rarely visible from ground level.  From taking the pole camera out of the car and setting it up, we can see this area within a few minutes.  Setting up a drone takes time.  Imagine manoeuvring it into place to hover right next to the tiles.  Getting the camera perched in the gutter looking upwards. This manoeuvre would require significanttime and skill.  And the potential for tile or gutter damage by the drone is a possibility!

The pole camera allows us to see the tops of chimney stacks and also the tops of parapet walls. It also shows other areas of complex roofs that we want to inspect in detail.  So why complicate the process by using a battery powered vehicle that cannot be used under certain conditions?Only the very expensive models can operate when there is high wind or excessive rain or in certain geographical areas.


THE POLE CAN GO WHERE DRONES CANNOT

This should be seen in the wider context of drone use. The current call for registering and licensing drone pilots would add another layer of cost and complexity. This is not warranted in the surveying of residential property. We would not be able to use of them near Bristol airportor sensitive sites such as the MoD. There are also the general privacy concerns. Our cameras only look at the house we are surveying, not at the back gardens of an entire street. Hence our camerasdon’t cause alarm to people sunbathing in what they though was the privacy of their back gardens!

The real skill lies not in taking the picture, but in being able to analyse what the picture means…


“Loft Rooms”

Is that converted attic described as a ‘Loft Room’ in the Agent’s  particulars? Then beware – the trick is in the wording! This is often ‘agent speak’ for conversions that do not benefit from Building Regulations approvals. Hence it is not considered habitable space and as such cannot be lived in. Nor will it be valued as habitable space by the mortgage company. ‘Loft Room’ is often a snappy short-hand for major problems with the conversion!

BUILDING REGULATIONS

The Building Regulations specify the performance factors for varying building elements. Before commencing a conversion, you should submit the proposed drawings and any structural engineer’s calculations to the Local Authority, for their approval. Council Building Control Officers or their contractors would then visit the site at intervals during the course of the works. This ensures that the works are being carried out as specified in the plans. It also ensures that the correct materials (such as concrete lintels) are being used, prior to them being hidden by plaster or render, for example.

Some surveying companies offer this service commercially, so you can use their approved inspectors rather than the Local Authority for approvals. This may save you money and these organisations can offer a more flexible verification process.

Then at the end of the works and on the final inspection, a Completion Certificate is issued to the building owner or their agent.

WHY IS THE CERTIFICATION IMPORTANT?

The information and certification produced in this process is vital for later surveyors!  We do not routinely break into the fabric of the building in the course of our inspection.  If we did, the vendors would no doubt be very angry as holes in walls are not ideal when selling a property!  The Completion Certificate states that the conversion has been inspected and meets the compliance standards in force at the time of the construction.  Are you hoping to sell a property with an attic conversion but no Completion Certificate? If so, you may be disappointed at the price you finally achieve.

WHAT ACHIEVING COMPLIANCE IS LIKELY TO INVOLVE

Just taking one section of the Building Regulations as an example, Part L : the Conservation of Fuel and Power Regulations. These are designed to reduce the amount of fuel needed to heat a dwelling. Part L describes the need to hit certain “U-values”. These are performance factors of materials used in the construction of the external envelope (walls and roof). Nowadays you would be expected to have significant thicknesses of insulation in the slope of the roof for it to be signed off. Compliant materials would include Polyisocyanurate board, also referred to as PIR or ISO, a yellow type foam insulation with silver foil on both sides. The alternative would be expensive multifoil or equivalent.  Such insulation is rarely found in non-compliant older structures.


HOW TO MAKE THE LOFT ROOM COMPLIANT WITH PART L OF THE BUILDING REGULATIONS?

You would have to strip out all the existing internal plasterboard on the walls and ceiling in order to fit such insulation.The Regulations also normally require that insulation is left beneath the floor and again this may not be done. To check whether it is present, the floor may need to be stripped out, even partially. And the floor may need removing completely to insert such insulation to create a compliant space.

SOME OTHER CONSIDERATIONS

Other sections of the Building Regulations include Part B, bought into sharp focus in the wake of the Grenfell tower disaster. Part B Regulations cover fire safety and the need for fire resisting corridors for safe access, fire doors, smoke alarms and heat detectors. For example, does the attic conversion have fire doors? Or a robust staircase escape route?

And then there are the comprehensive Electrical Regulations to take into consideration!

SO IS THAT ‘LOFT ROOM’ AN ASSET?

In summary, if the conversion has to be stripped out to ensure just one factor is met, this will be costly. To remove the old non-compliant structure,you will have incur labour costs to dispose of the old materials, before you upgrade the conversion correctly. Compare this with purchasing a property that has no ‘loft room’at all and then converting one properly…


Conservatory


“IT’S GOT A CONSERVATORY!”


But that may be a mixed blessing…

It’s generally expected that a Conservatory will be a glass box attached to the back or side of a house.However, perceptions about conservatories have changed a lot over the years. For instance, a survey in 1991 by RICS (the Royal Institution of Chartered Surveyors) found that only 20% of people expected to use a conservatory all year round. By 2005, that had increased significantly to around 90%. Similarly,in 1991 only 30% of people considered it part of the ‘Living Area’. Again, this had increased significantly by 2005 where 60% thought Conservatories were part of the Living Space. This increasing use of the space makes a Conservatory more valuable and the effect of constructing one should impact positively on the value of the property.

The Regulatory Stuff

Conservatories are normally exempt from Building Regulations and Planning assuming they are constructed within certain parameters.

Building Regulations state they should be at least 50% glazed. They must be thermally separated from the main by external quality doors. They must not be connected to the central heating system but may have their own separate heating system. So if you a see a central heating radiator in a Conservatory, it normally means the construction is non-compliant.Other parts of the Regulations also apply;for example,  if you are installing electric sockets, underfloor heating connections or lights, then they must conform to Part P.

Planning approvals are not normally required if the Conservatory is at ground level and the floor area does not exceed 30m². It must also be correctly positioned in relation to existing buildings and boundaries.

What are the problems?

How old is the Conservatory? Installers may guarantee the structure or elements for 3, 5, 10 years or longer – but installers often go out of business. So unless the guarantee is backed by a separate insurance policy by the installer, it may be worthless.  And if the Conservatory is in a poor state of repair, you will have the additional cost of removing it. Older ones may be constructed with aluminium frames although most modern ones are metal-reinforced UPVC, which has a projected lifespan of around 25 years.

Some Defects

Very common defects with conservatories are the vertical cracks opening up between the Conservatory and the main building.These are most likely as a result of some movement between the more secure and settled main building and the more recent addition. This is normally combined with thermal movement. Normally these cracks are ‘slight’ and not considered particularly worrying; good use of flexible sealant can fill the gaps.

What is the roofing material? Is it expensive glass, possibly optically tinted? Often cheaper twin wall polycarbonate is used as the roofing material.  This is made of lightweight plastic sheets with extruded boxes inside the construction.  These roofs tend to have problems with condensation forming inside the internal chambers; visible water droplets appear. This is mainly an aesthetic  issue and not structurally concerning. However, when the roof sheets age, they become brittle and as a result can be easily punctured by hailstones –  we have seen them damaged by seagulls!

The metal bars between the polycarbonate sheets (often called glazing bars) have been known to deflect over time. This means rainwater and snow do not run away correctly and the water can pool;  the rubber seals between the bar and the sheet fail, allowing water to enter the Conservatory. During the heavy snow falls in 2012, we visited many properties where the weight of the snow had simply snapped the bars and caused the roofs to collapse.

Rainwater Disposal

In newer cavity walled properties,a good quality Conservatory should have a cavity tray fitted in the wall of the main house above the Conservatory. This should prevent water from ingressing from the cavity and staining the tops of the walls in the Conservatory; weepholes above the Conservatory are often the only clue to whether  this has been done. If the property is a bungalow, there is likely to be an enclosed box gutter between the bungalow and the Conservatory; has the rainwater been routed correctly away from the building?

Location

As mentioned previously, Conservatories are generally constructed at the back or side of a property which may impede access to the gutters and soffits above. This makes decorating and regular maintenance very much harder. Either protection over the Conservatory is required or very costly scaffolds are necessary. Hence in most cases it is more cost-effective to remove the roof panels of the Conservatory to allow a standard access tower to be erected.


SUMMARISING THE CONDITION OF THE PROPERTY

SUMMARISING THE CONDITION OF THE PROPERTY

Over the past few months we have been unpicking the individual elements of the property for you to consider during your viewing. So have our blog open on your tablet or phone to help you follow the sequence, external elements first,  then internal ones. Print off the tick sheet below and when you have checked off all the items, you will have an idea of any potential issues prior to making an offer.

A surveyor undertaking a full building inspection would be able to spend hours looking around the property. However, the agent will often limit you to 20 minutes  – or less.  Hence this checklist cannot be a substitute for a professional building survey before signing the contract. But it can save you a lot of grief when deciding to make an offer!Buy yourself time by getting there early to do your external viewing before your appointment, or stay around afterwards.

If there are many negative responses or big queries raised by the tick sheet, then do some more research on Google or ask a competent friend in the building industry for their thoughts – and if you’ve used our services before, you know you can drop us an email too.

CHECKLIST

Please feel free to print this off and take with you as a checklist while you work through the information on our blog:

Desk research before you view:  check Environment Agency for  flooding,  check crime statistics, check Zoopla/Rightmove for earlier floorplans and sales history/prices.

On arrival: Neighbourhood? Noise in vicinity?Parking on and off peak?

External Elements

Chimneys:  Leaning?Failing pointing?

Roof: Dishing? Age and condition of roof covering?Missing or damaged tiles?

Gutters: Evidence of leaks?Vegetation? Slope away from downpipe?

Walls: Leaning? Cracks? Poor render? Blocked airbricks?

Windows :Type and age of glass and frames?

Doors: Open and close easily?

Internal Elements

Lofts:  Condition of sarking felt? Size and regularity of timbers? Insulation?

Ceilings: Cracks regular (plasterboard)? Cracks irregular (lath and plaster)? Artex present?

Partitions (Internal walls):  Thickness? Solid? Stud? Any removed?

Dampness: Any visual evidence of damp? Mould? Salts? Staining?

Floors: Solid? Suspended timber? Any movement?

Before leaving :

Outbuildings: Condition of sheds, conservatory?

Grounds and boundaries:  Fencing good? Walls not leaning or cracked? Retaining?

Plants and trees: Trees near the building? Unrecognisable plants (knotweed)?

Spoken to vendor about works carried out in the past?

Spoken to neighbours about good / bad aspects of the locality?

Damp

DAMPNESS

Damp has been found in properties since we lived in caves! During the feedback sessions after our surveys,  this is one of the most worrying issues for our clients.  They often prick up their ears at the mention of dampness in a property!  A recent survey suggests that 67% of people would consider pulling out of a purchase if damp was discovered.

Why is it such a problem? Dampness does not just damage decorations, wallpapers and paintwork. Where it has been present for some time it can damage adjacent  timbers, leading to expensive structural problems. How might you detect it without the sophisticated meters that we use? During a viewing,  your best friend in this quest is your nose – damp timbers give off a recognisable musty smell. This is often hard to mask, even with air freshener or the old favourites of coffee or baking bread.

We normally split dampness into 4 categories:

Rising dampness

This is moisture rising up the walls of the building from ground level. Look out for ‘tide marks’ around the base of the walls indoors, perhaps just darker paint near floor level. Look for salts crystallising on the surface of the wall or blistering to the paintwork finishes.  Can you see rust forming on the nails holding the skirting boards or along the metal angle beads at corners? If so, this indicates that the dampness has been occurring for a long time.

Penetrating dampness

This is dampness penetrating through the roof or walls.  Look for stains around the ceilings of the upper floor, beneath the roof. Especially look around chimney breasts and under window sills for brown staining. However, penetrating damp can be easily confused with condensation as they both normally occur in vulnerable parts of the building, such as in corners of rooms or around windows.

Condensation

Condensation can occur anywhere in the property.For dampness issues beneath a room with stripped  flooring,look at the nail heads to see if they have rusted. If so, this suggests excessive moisture in the area.

Bathrooms are notorious for condensation problems so inspect them thoroughly for mould growth. This normally appears in the corners of rooms and takes on a crescent shape due to air movement in the room. Mould can also appear behind large items of furniture so take a sneaky peek behind wardrobes. This mould suggests condensation related problems. Often painted over by canny vendors, the paintwork is still darker so inspect the corners of rooms thoroughly, especially if they have sloping ceilings.

Leaks

One of the most common reasons for escape of water claims with insurance companies is failed seals.  Look out for cracks to the grouting in bathrooms and also for failed seals around kitchen sinks, baths and showers. There might even be a darker stain on the ceiling of the room below the bathroom, a real giveaway.

Also have a look underneath the WC cistern. Modern close-coupled toilets in particular often leak –and what about that plastic tub beneath to catch any drips?!

Do you already have suspicions about dampness in a property ? If you have used our services previously, just contact our office with your invoice number and we will arrange to loan you a damp meter to use during your viewing. Forewarned is forearmed, as they say –